Since a few centuries ago we have been increasingly destroying nature, never thinking about the consequences of our actions to the planet. We destroy dune systems to build hotels, we devastate forests to make roads, and we end up with the dynamics of fragile ecosystems, such as rivers when dams are built.
One of the main reasons that motivates me to photograph nature is the possibility of showing the beauty of the natural world and at the same time encourage people to take action against biodiversity loss and climate change. Landscape photography is quite important in this process, because a good image can perpetuate a place or habitat, that at any moment can disappear and alerts people for the need to protect it. In this article I will go through the basics you need to know to start taking amazing landscape photos. Landscape photography involves 4 important elements: photo equipment, light, composition and technique.
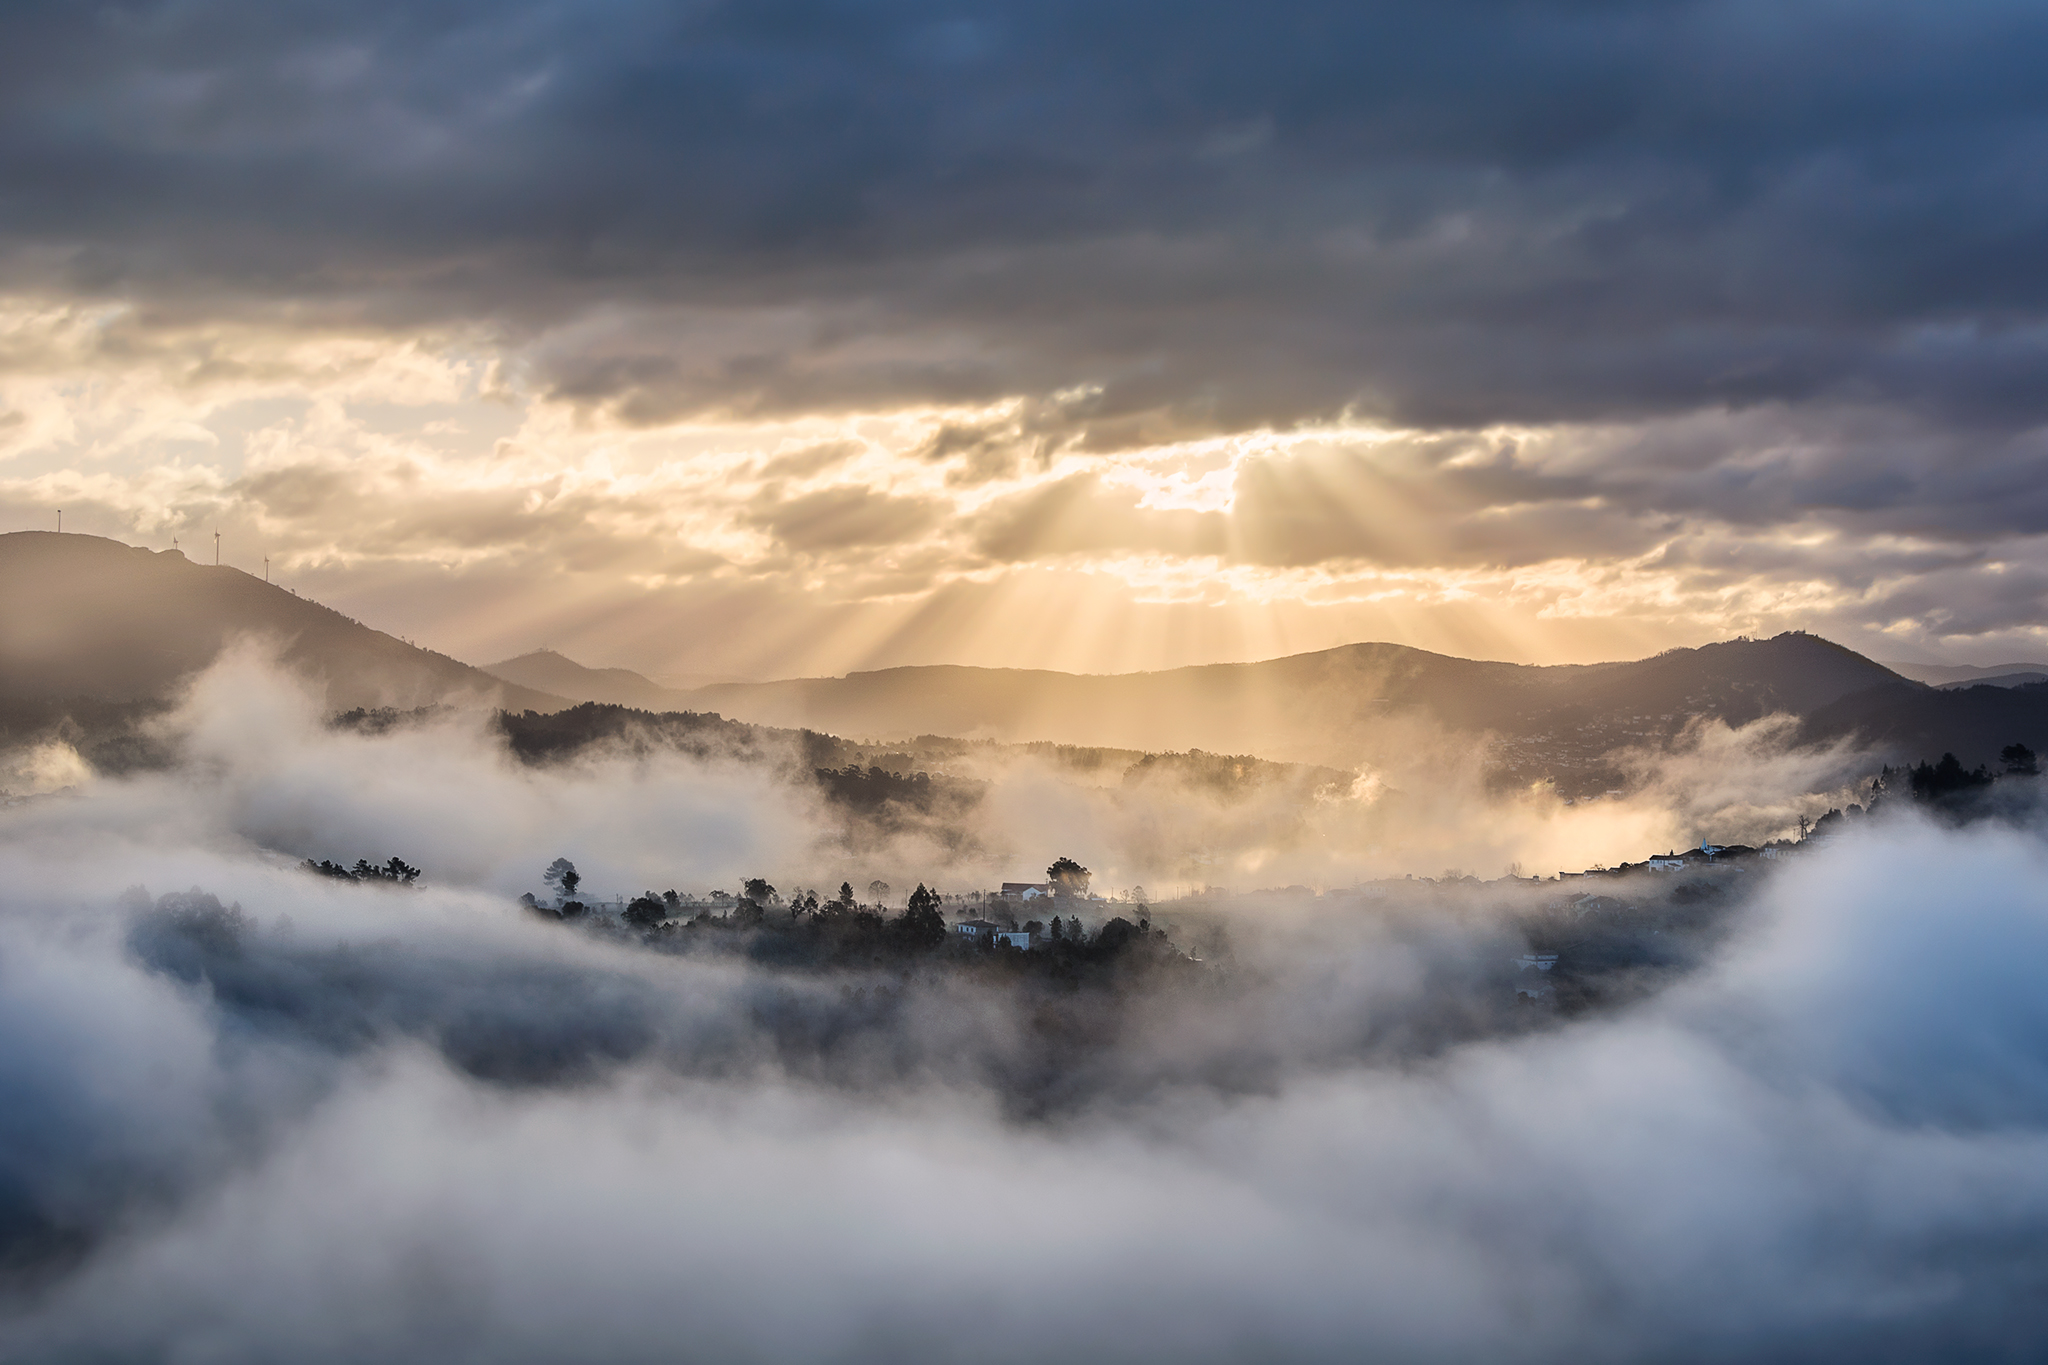
Photo equipment
I usually prefer to not talk about equipment, because too often it’s given too much importance. The knowledge and experience will be always more valuable than any camera or lens. However, choosing the right equipment to shoot a specific scene can make the difference between a reasonable image and a good image.
– Tripod and shutter release: the tripod is an indispensable accessory in landscape photography. It stabilizes the camera and reduces vibrations, which is essential when using low shutter speeds. A shutter release lets you take pictures without touching the camera, also minimizing vibrations. If you don’t have one, you can always activate your camera’s timer.
– Camera: in reality, today even with a smart phone it’s possible to take good photographs. Of course, a professional camera has higher quality, but a lower end dslr or mirrorless camera also yields excellent results. Remember, the best camera is always the one you own!
– Lenses: more important than the camera are the lenses, as they have greater interference in image quality and in the way you compose your images. You can get better results with good quality glass and a cheaper camera than with a high-end camera and poor quality lenses. So, what are the most suitable lenses for landscape photography? I would say the ideal are several different lenses, which together should cover the focal lengths from 16mm to 200mm.
– Filters: there are three types of filters that can be very useful: polarizing filter, graduated neutral density filters and neutral density filters.
Light
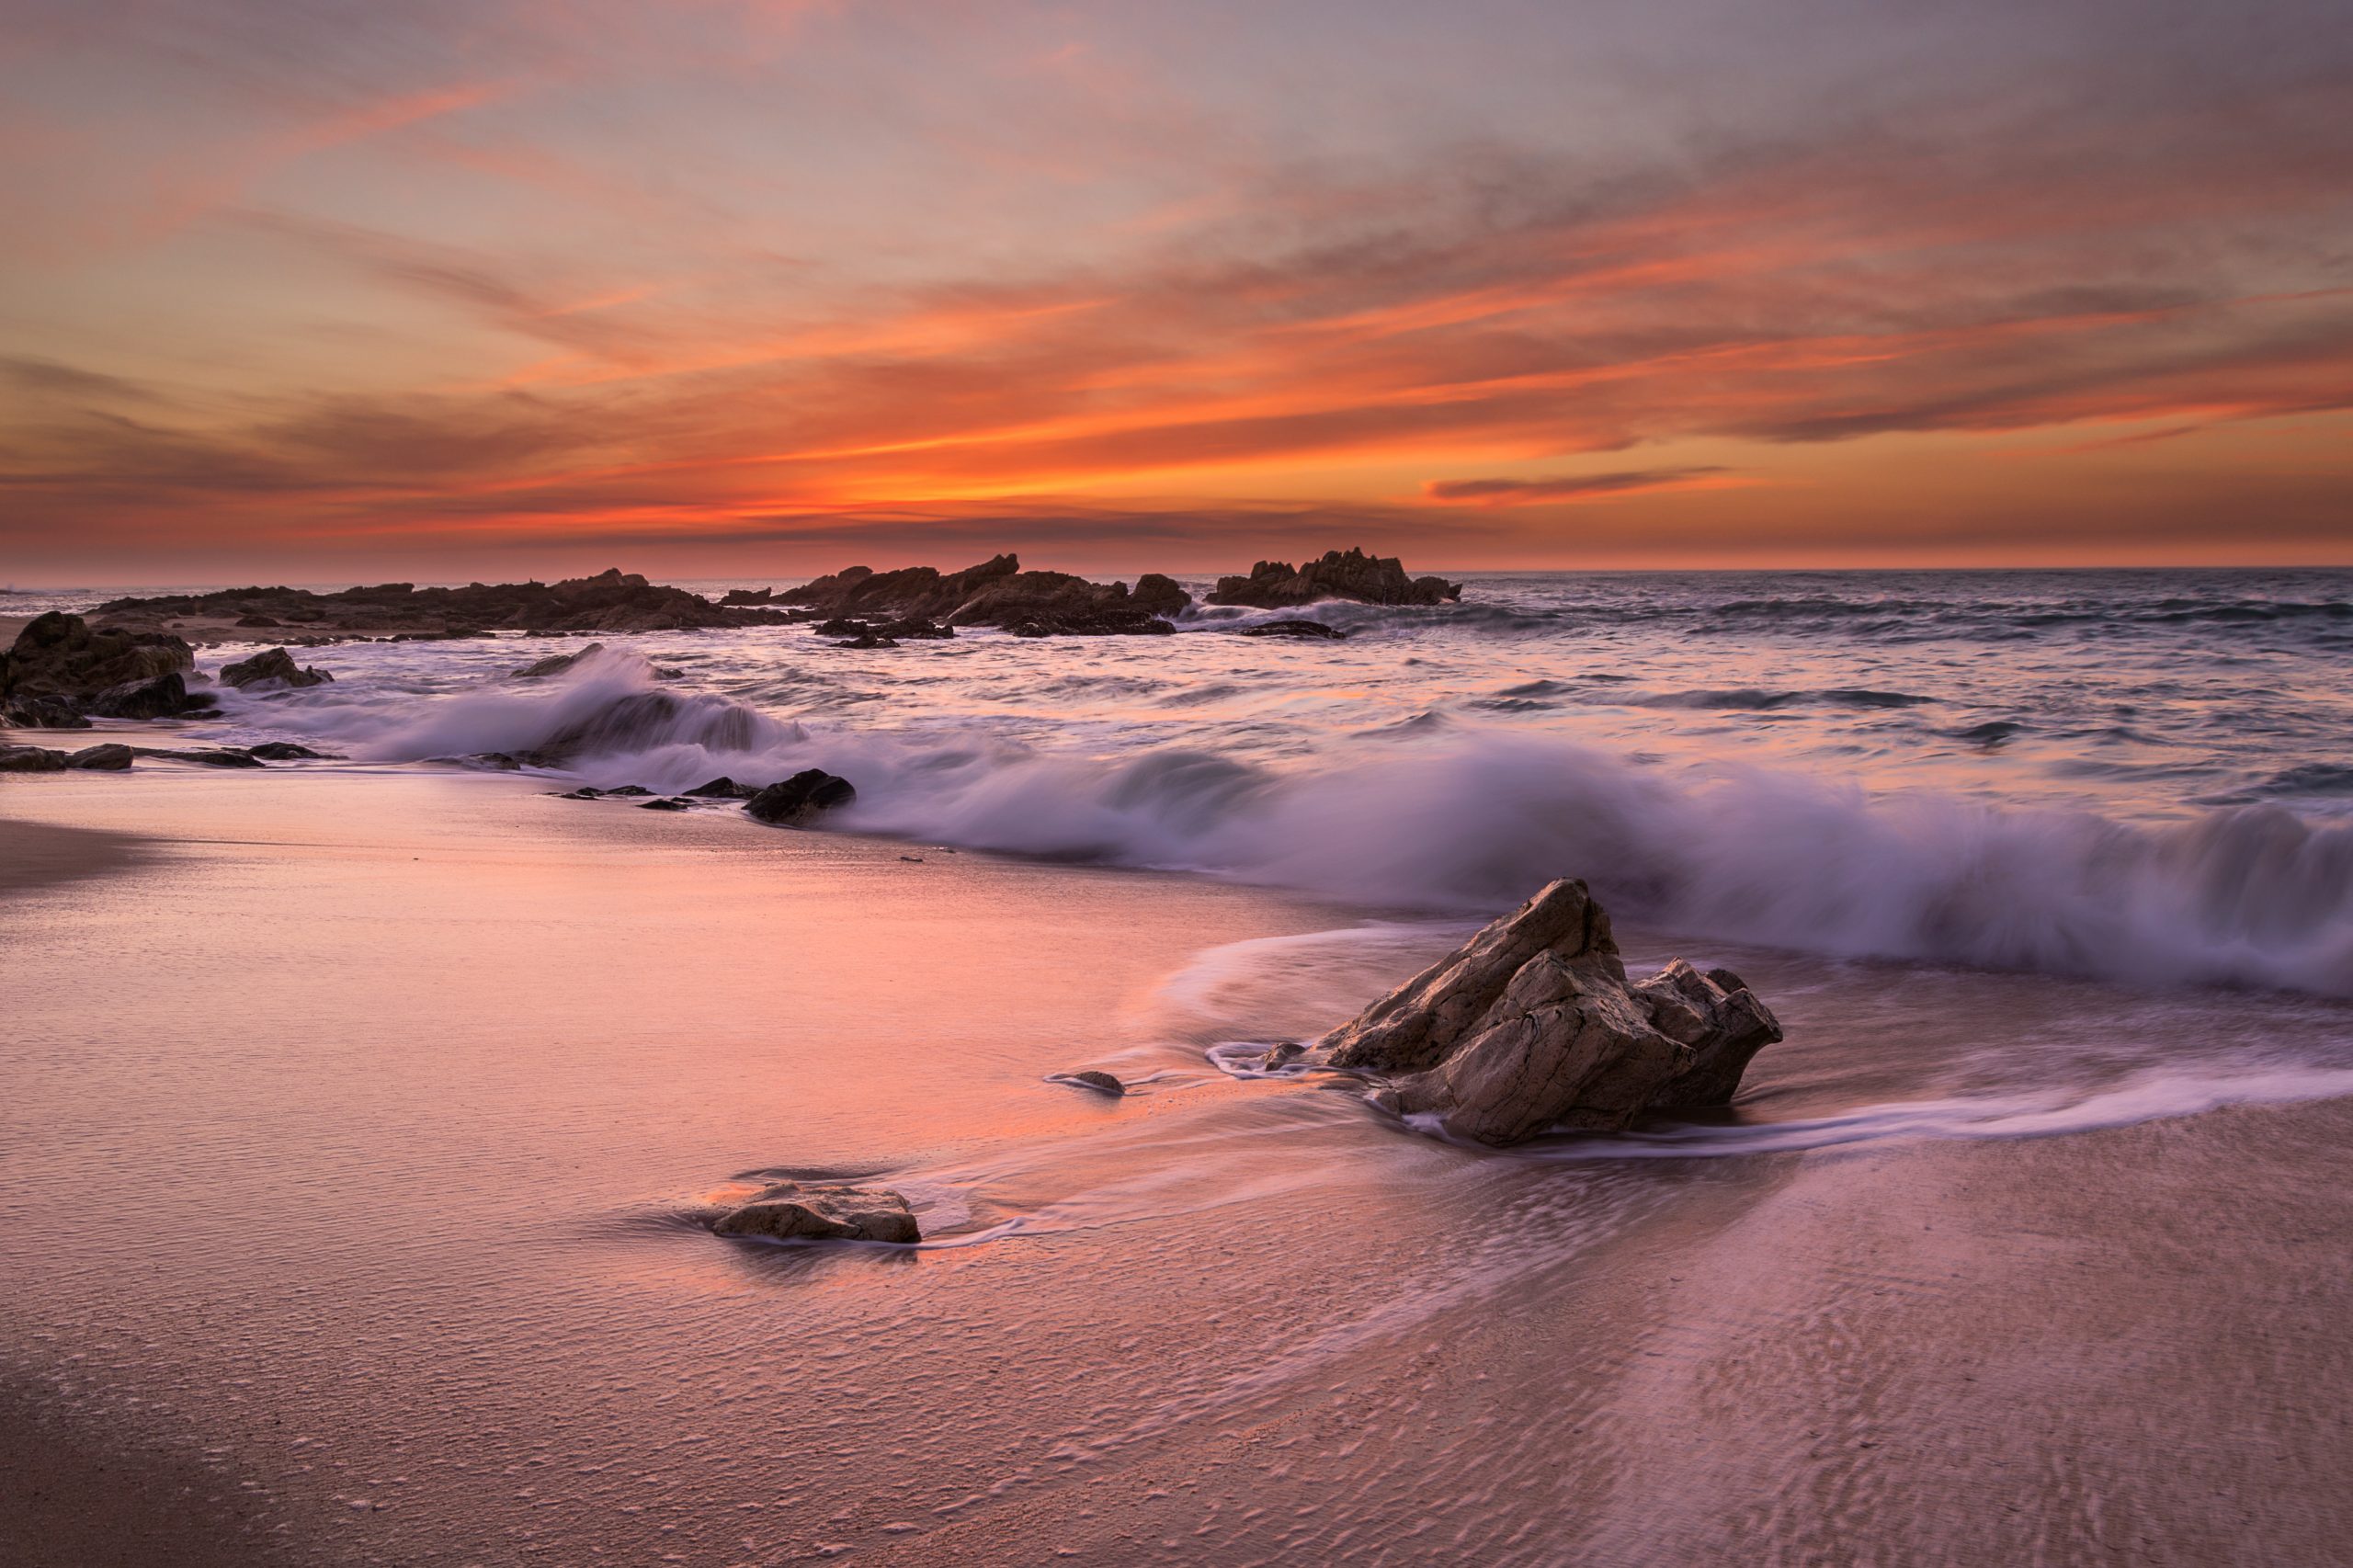
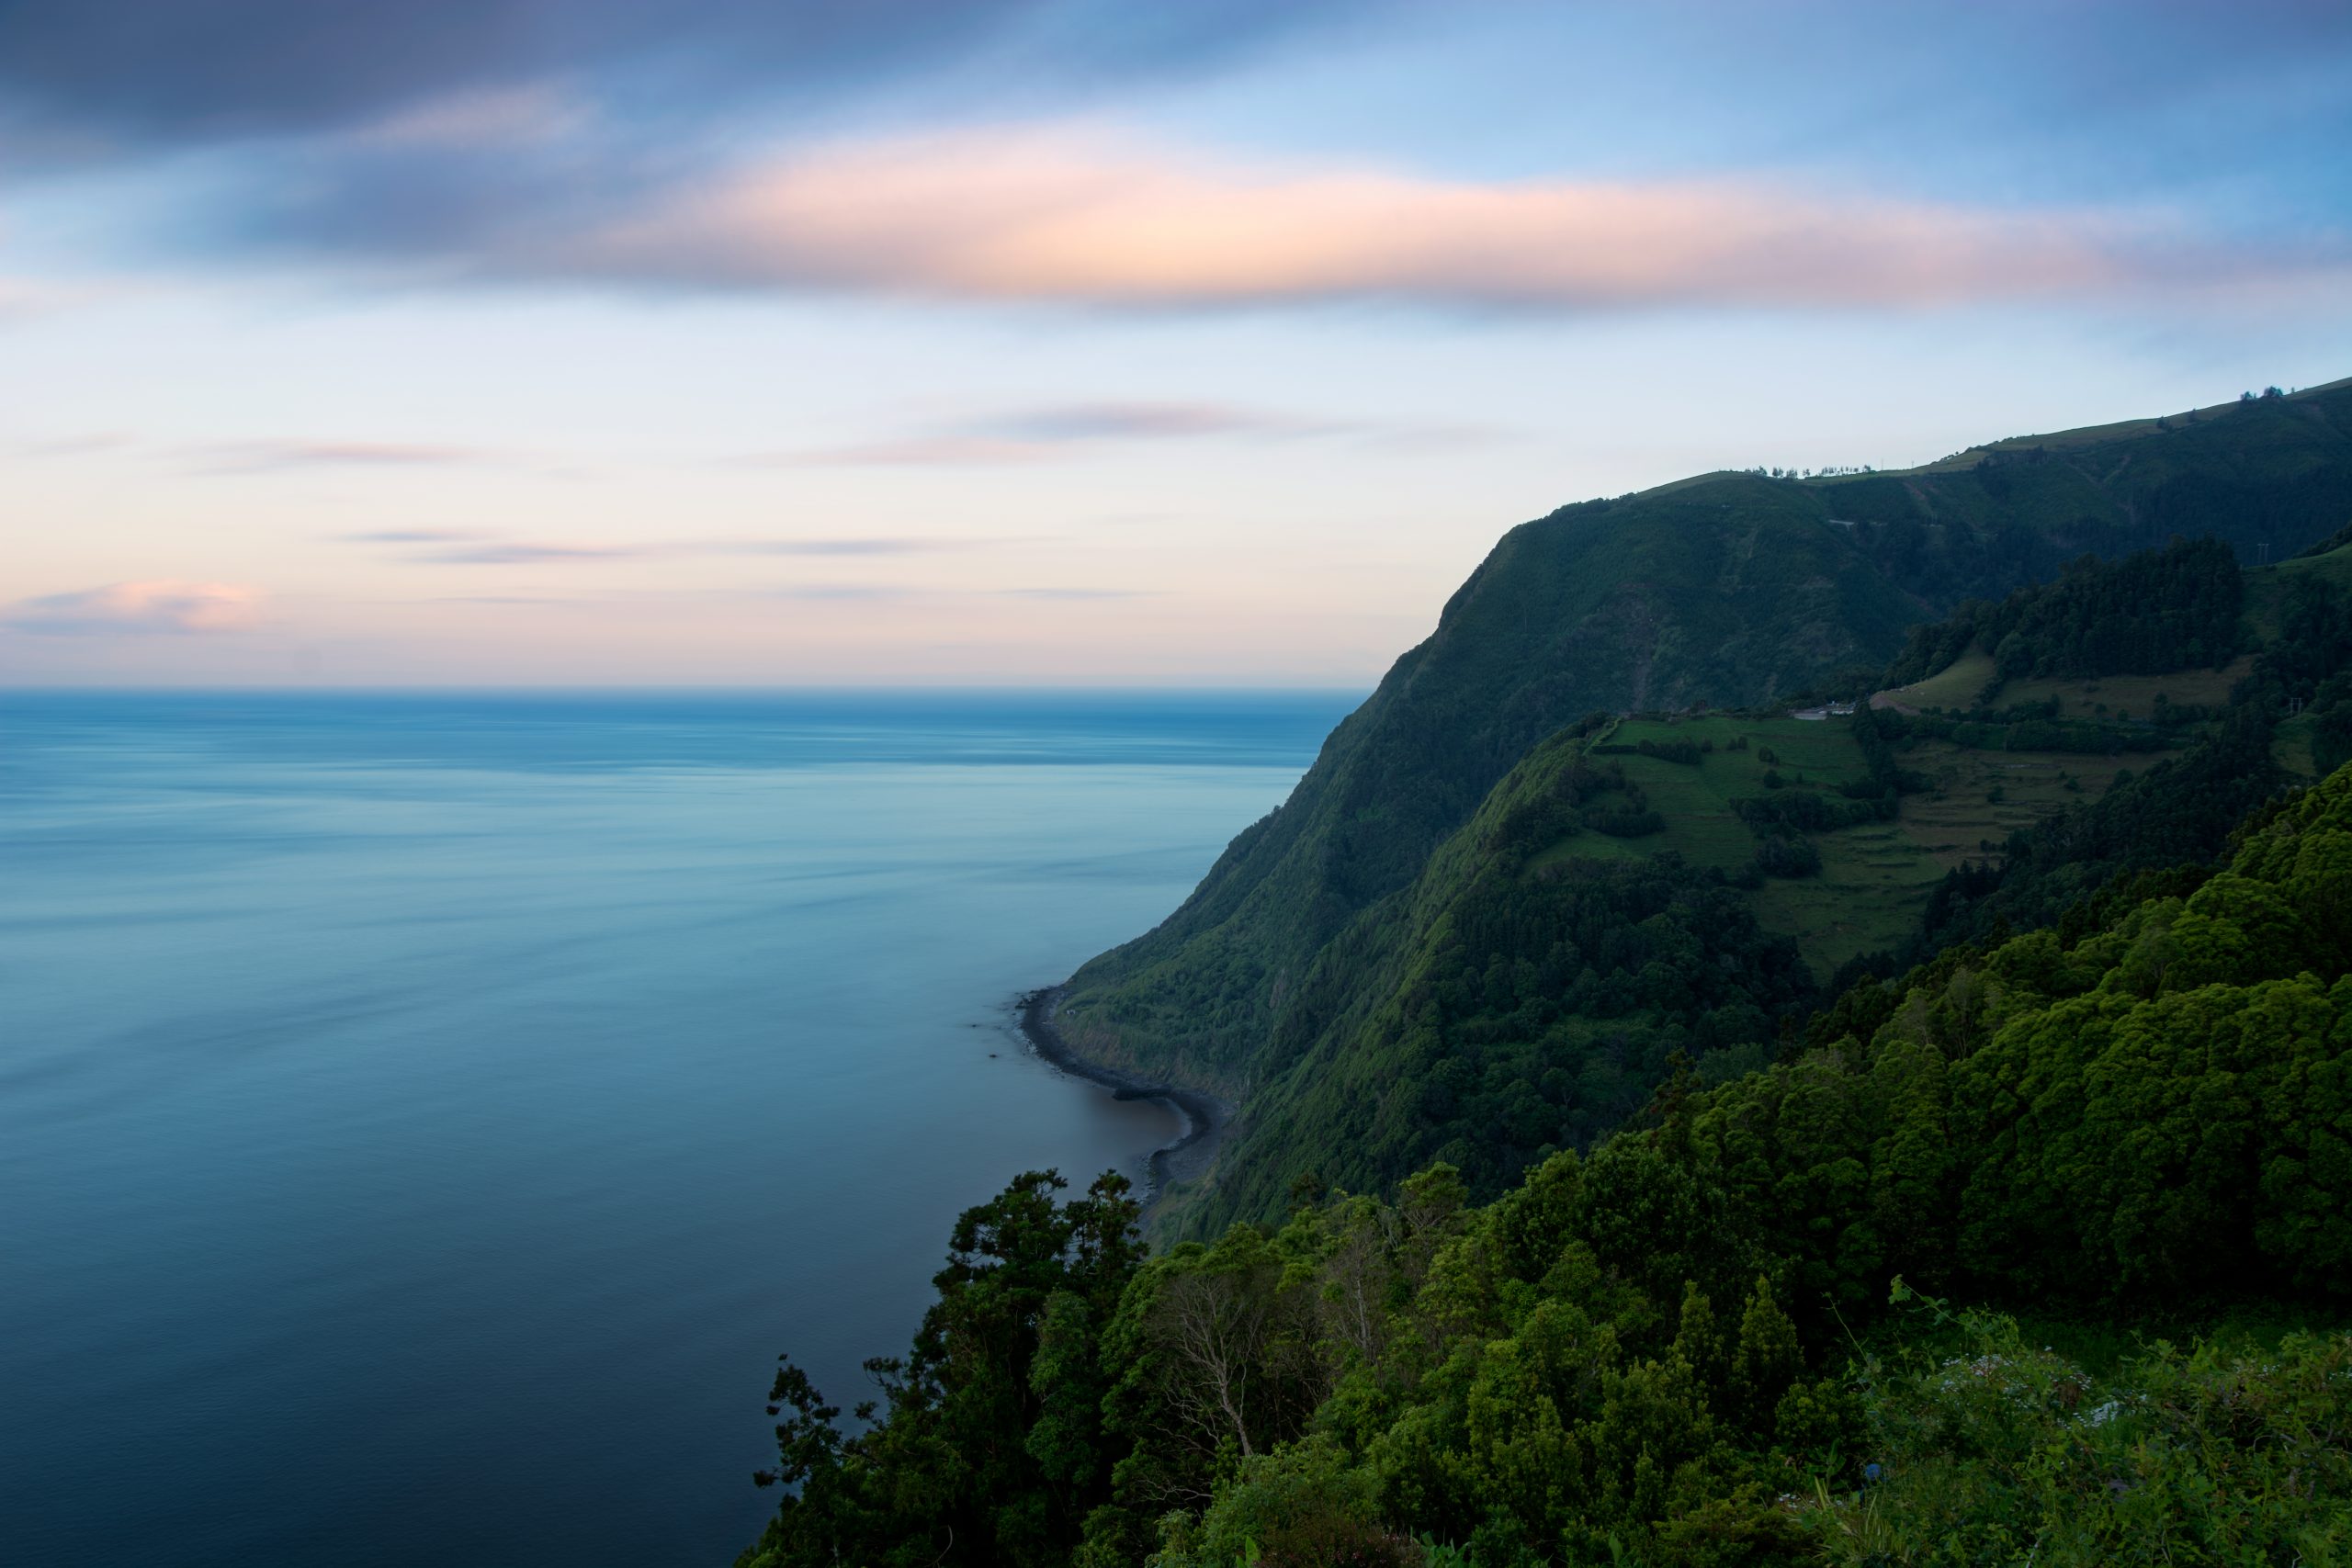
Light is crucial to get good results. In my opinion, the type of light best suited to each landscape can vary. It is important to read the location and try to figure out the best time of day to shoot or even the best weather conditions. I would say most landscapes work well with the light of sunrise or sunset. Light at these times of the day produces soft shadows and vibrant colours, which gives another level to an image.
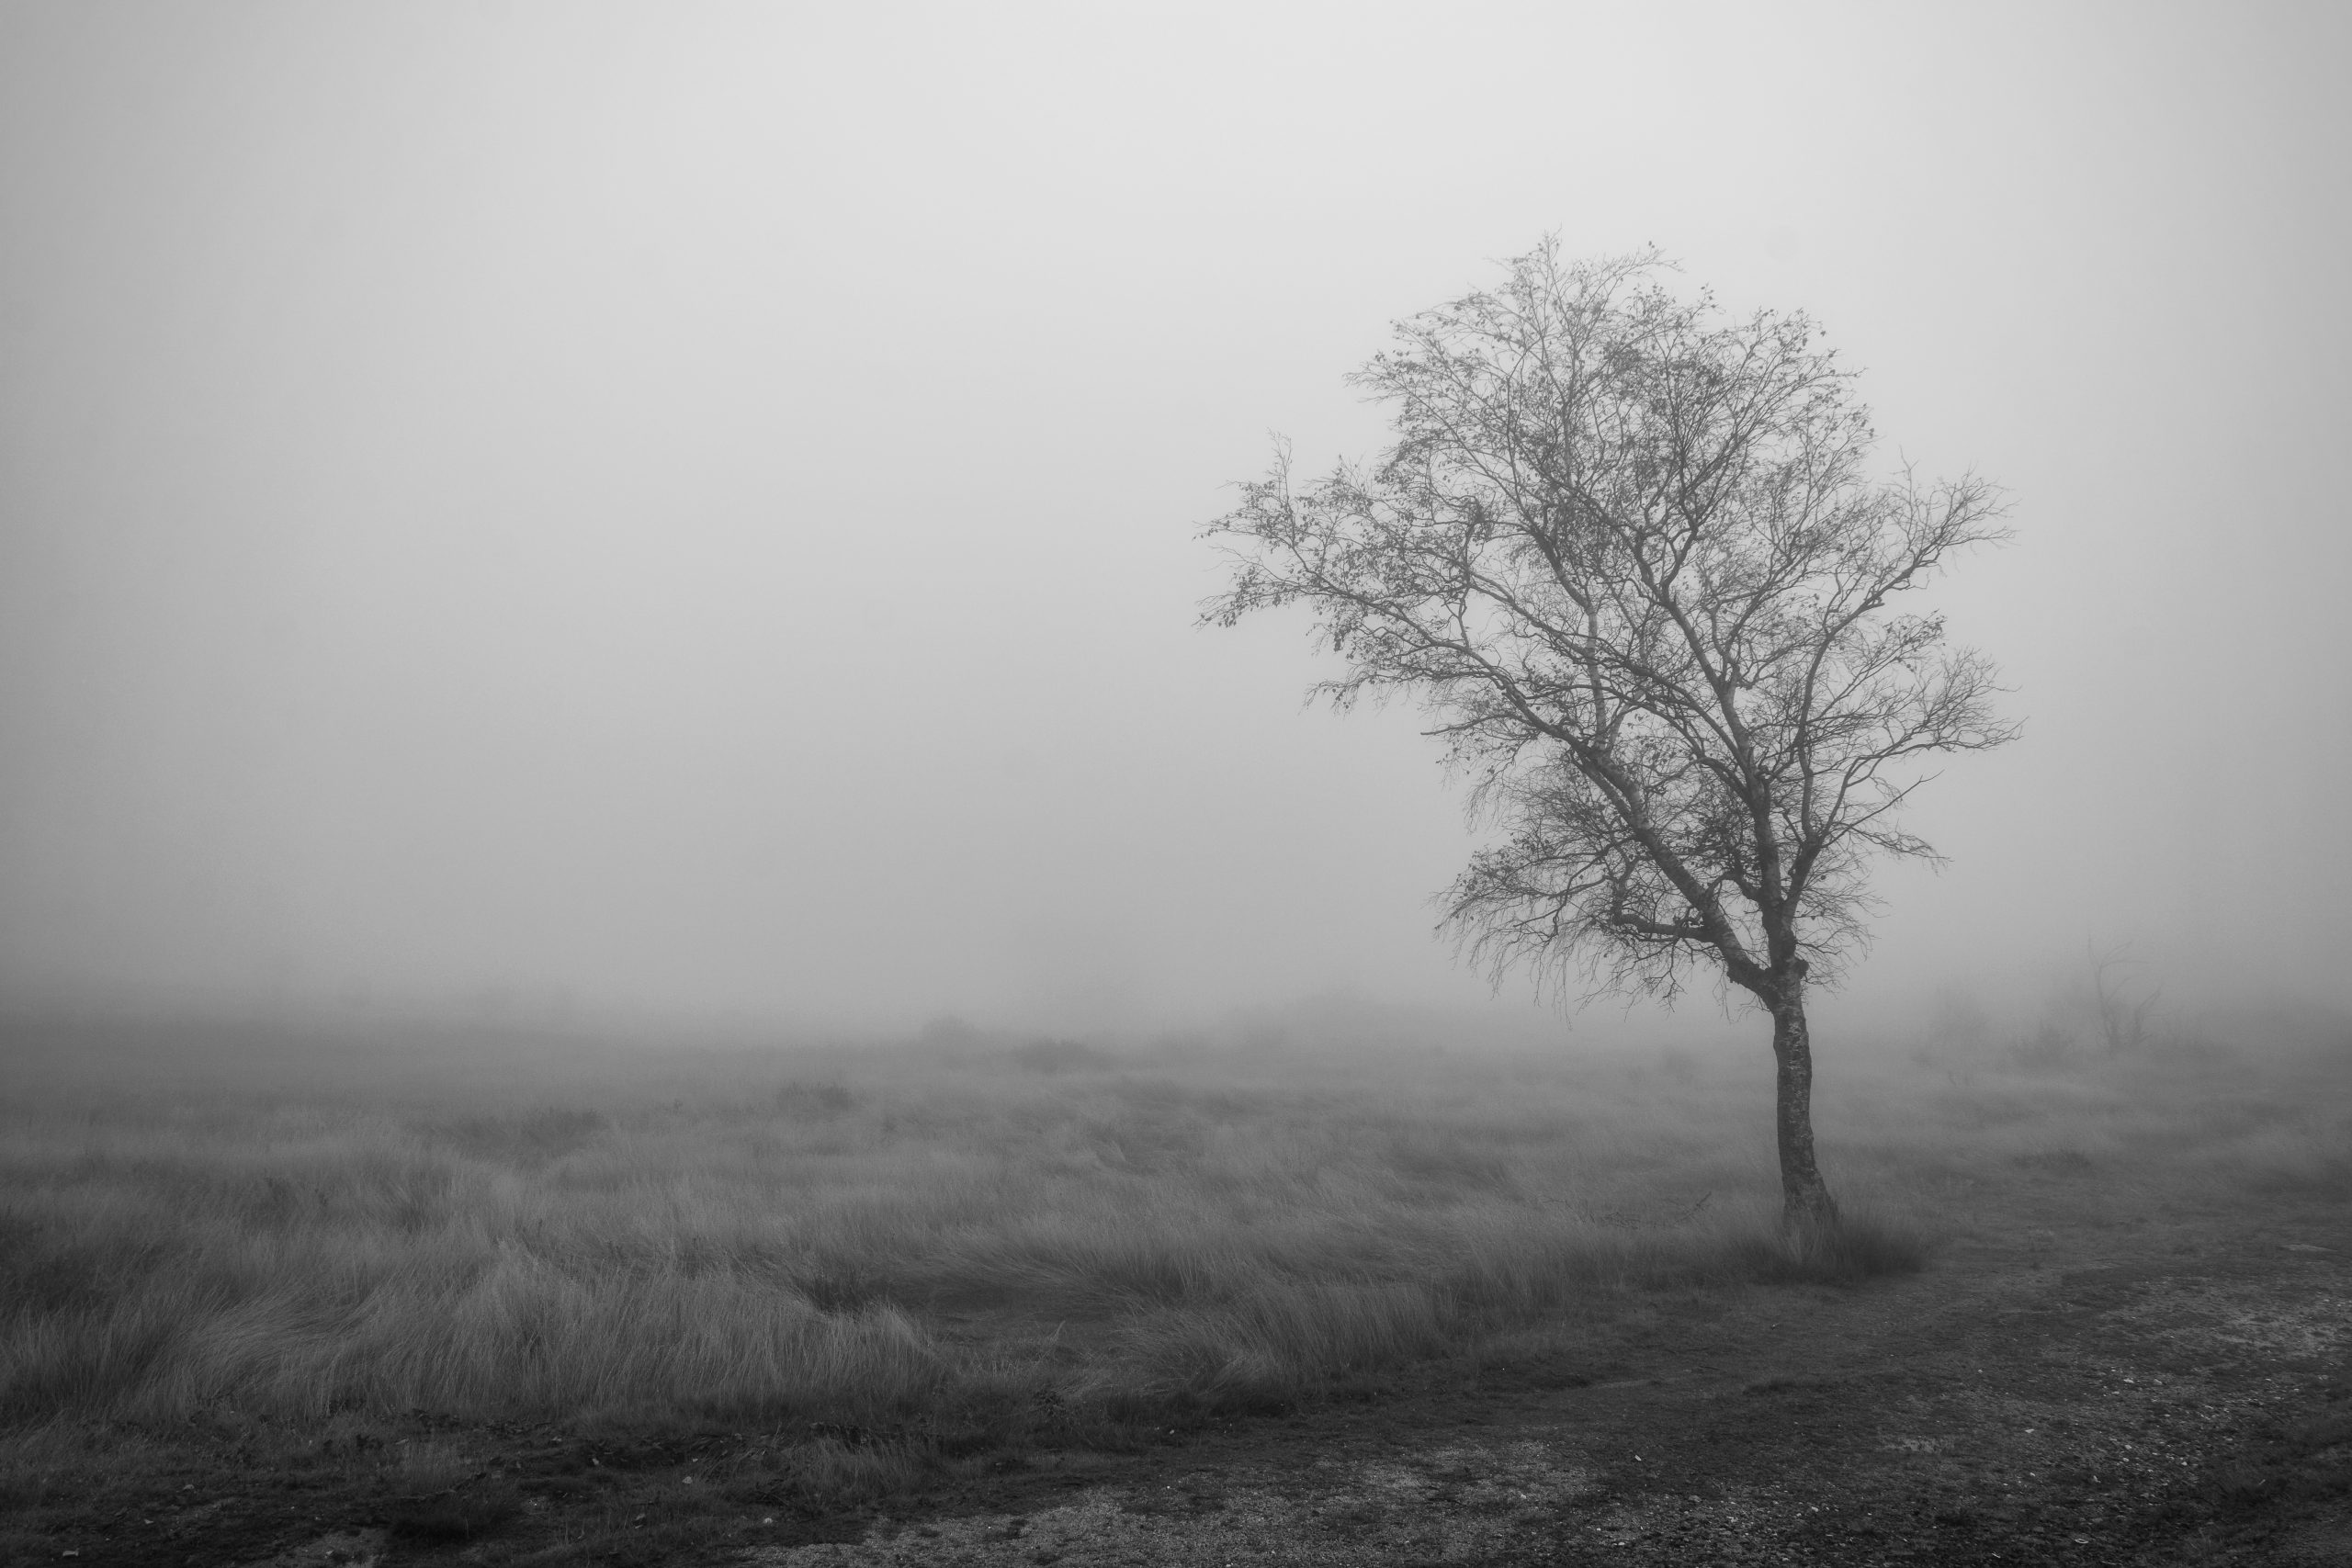
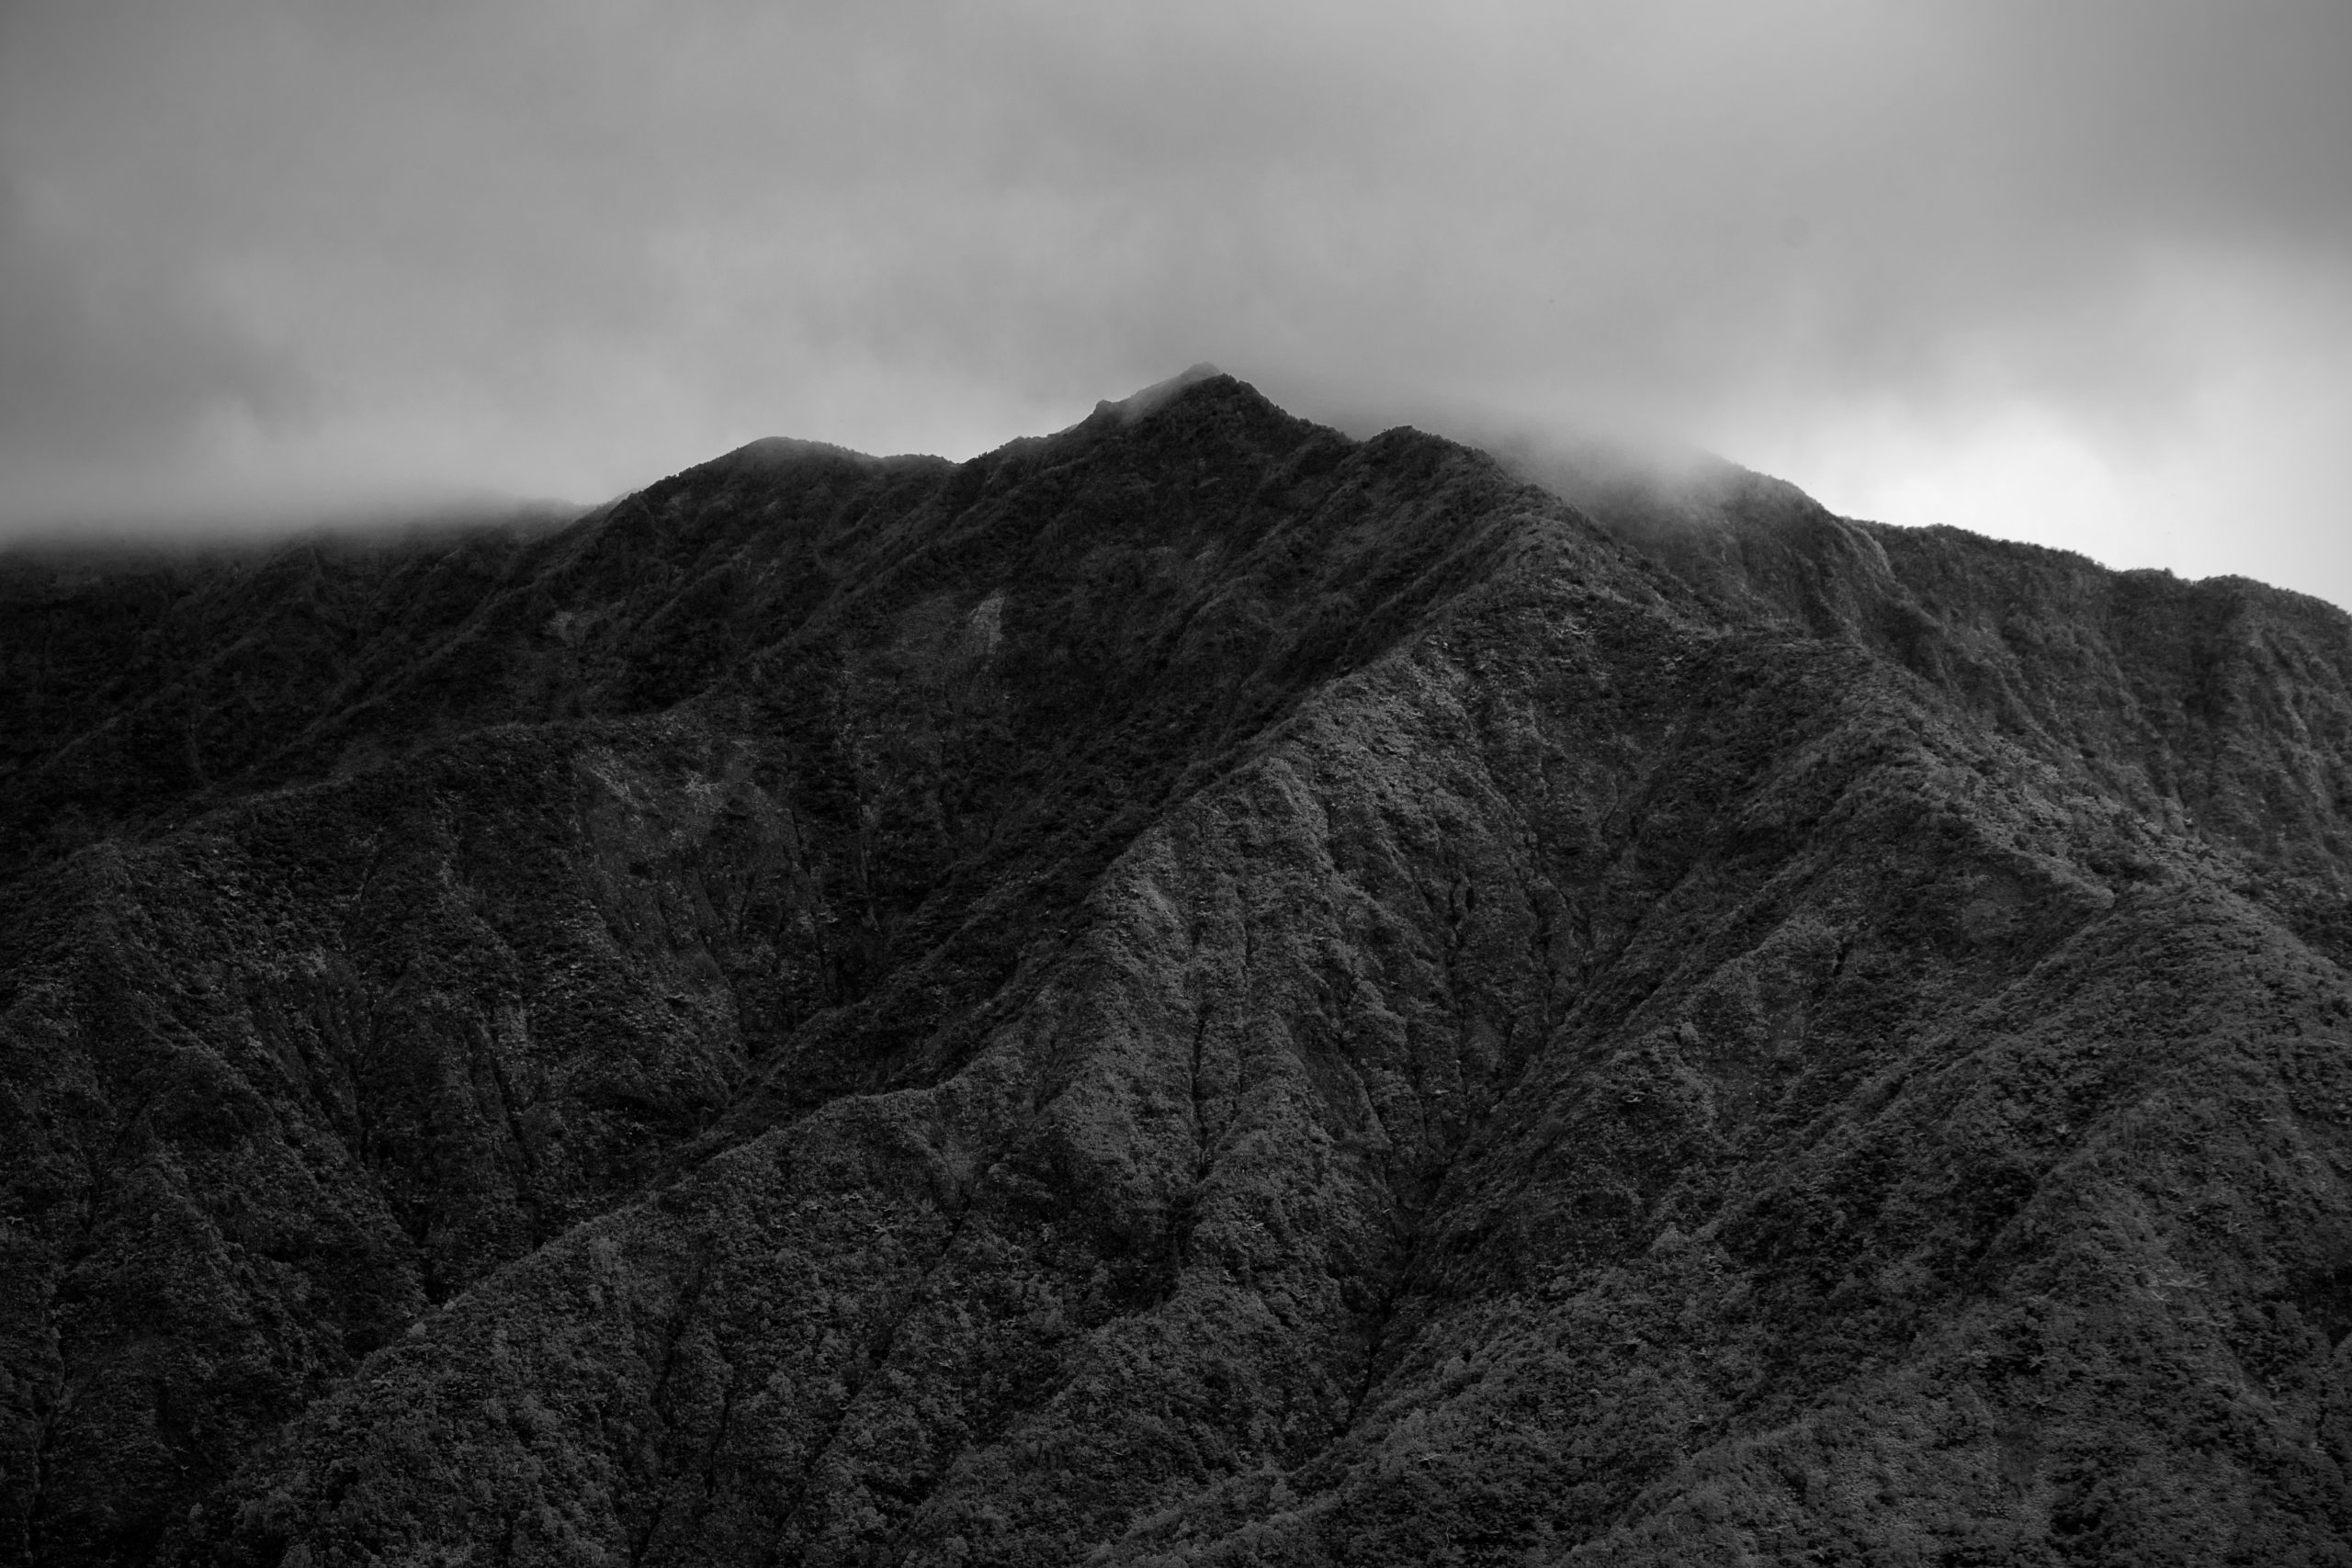
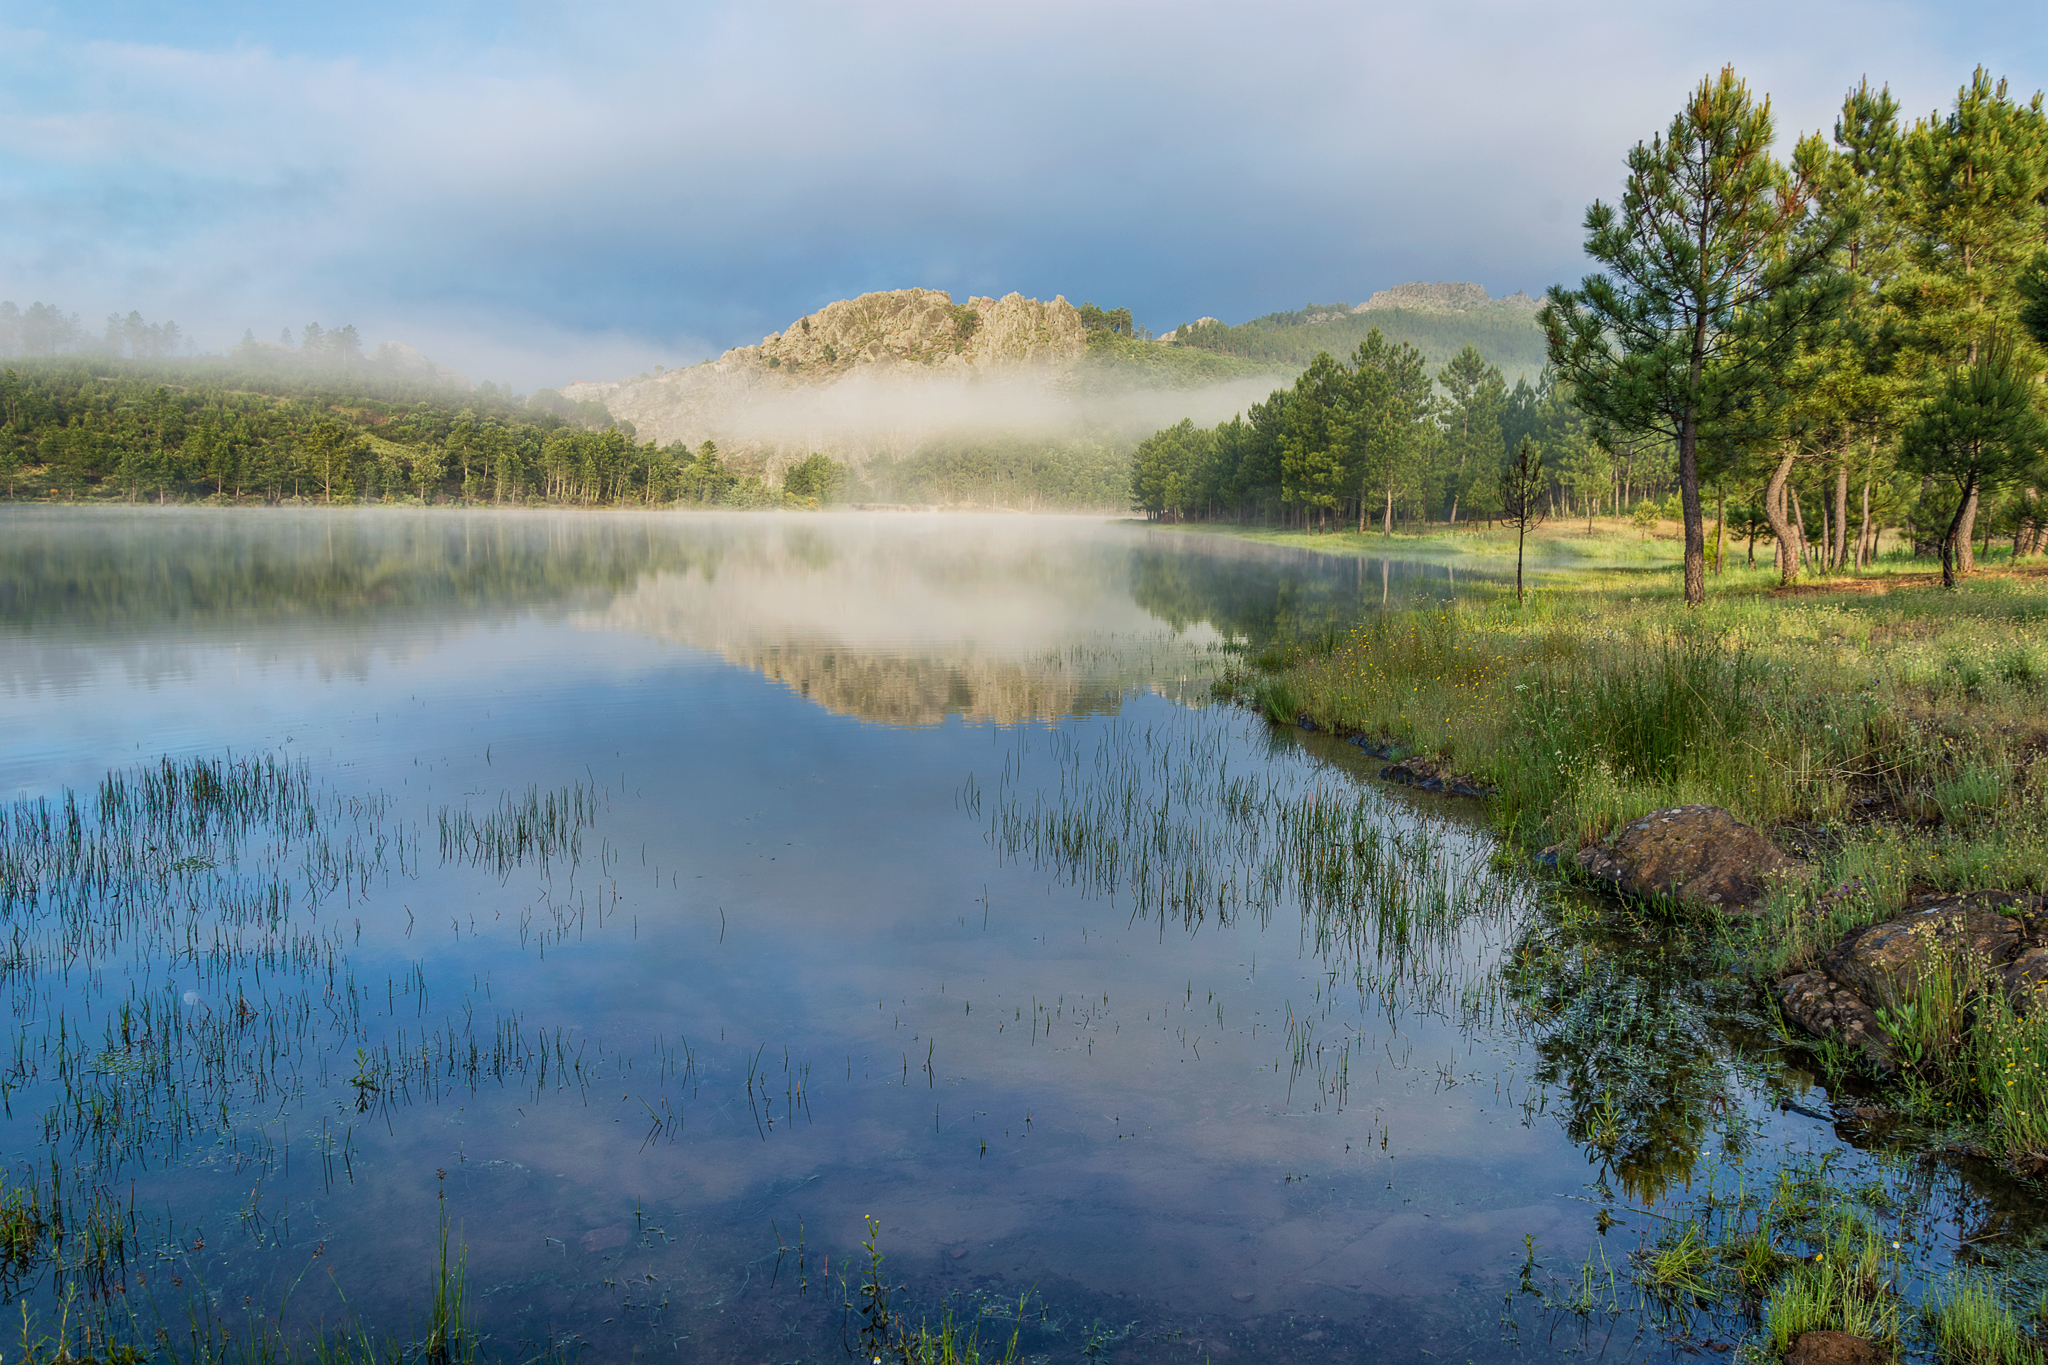
However, some may be equally interesting with moodier light, with less contrast and less colour. For example, I like to photograph trees and the landscape around them, and in these cases I often opt for foggy days.
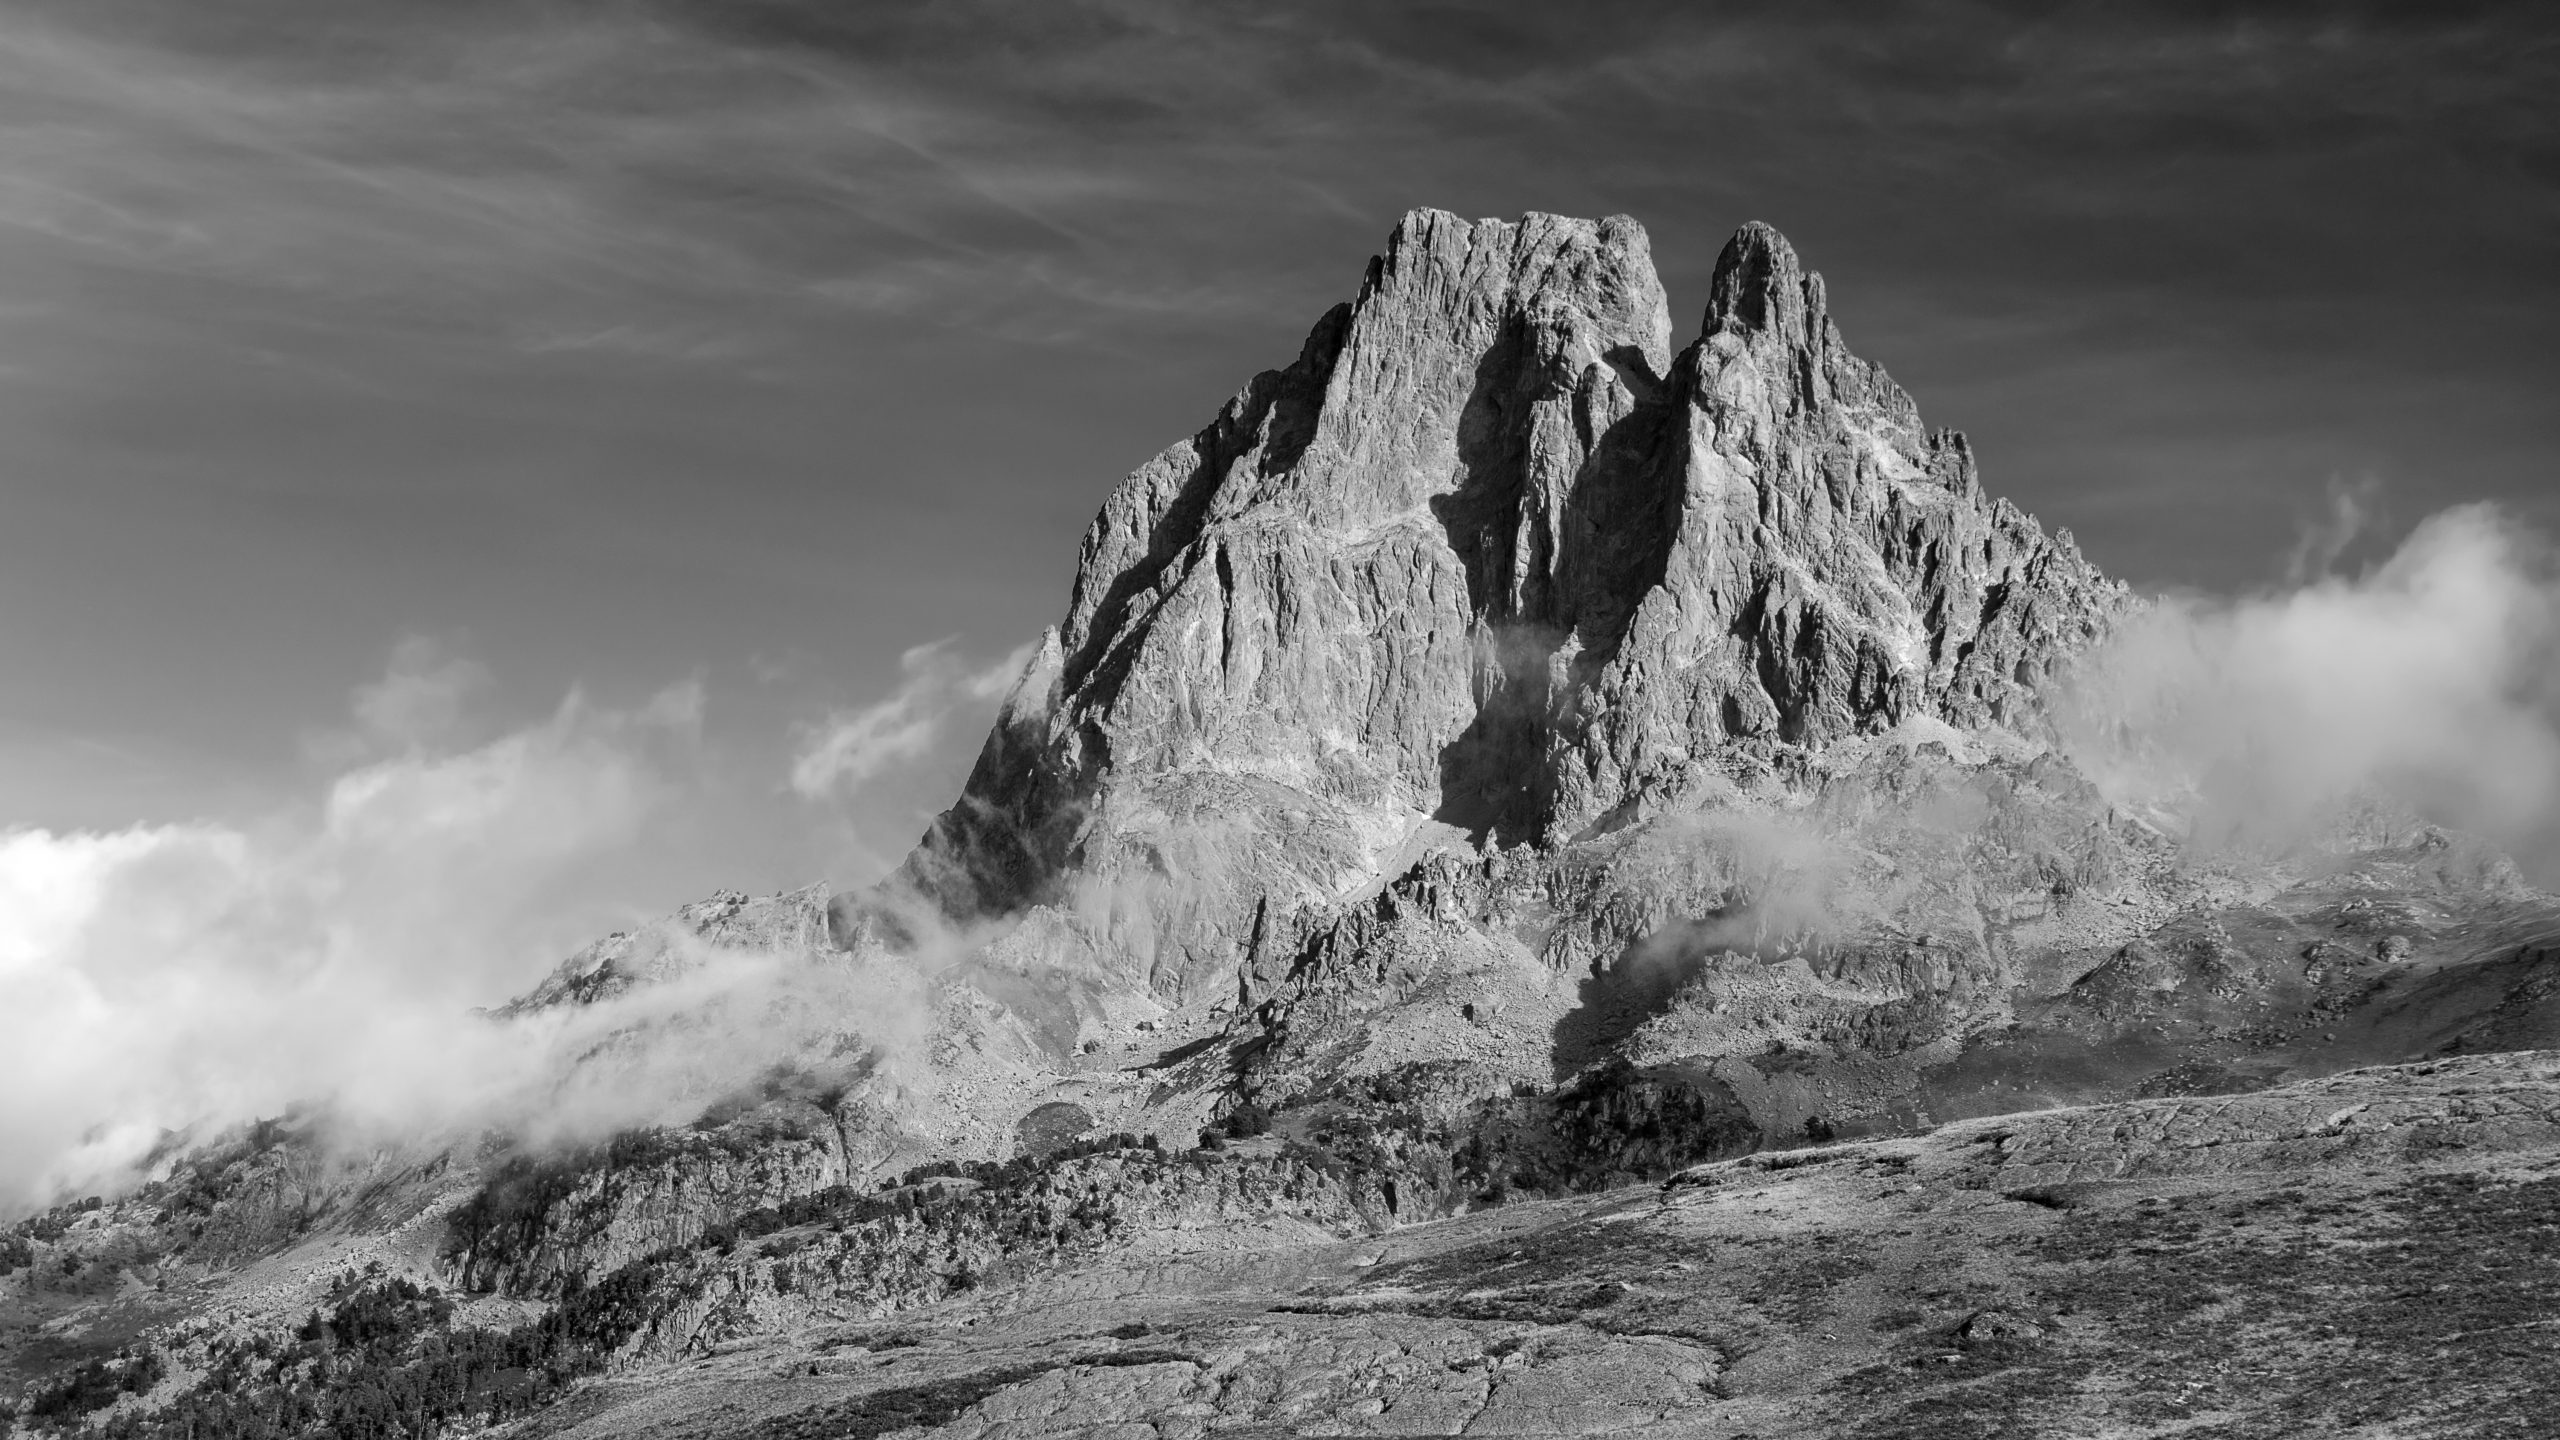
On the other hand, the midday light is stronger and produces a lot of contrast and very pronounced shadows, which is not very appealing. Although I usually don’t shoot under these conditions for the reasons already mentioned, sometimes it may work, especially in black and white.
I recommend you to figure out what will be the position of the sun at the time of the day you are planning to shoot. This way, you will be able to better understand the direction of the light, which will help you composing the image. Consequently, when the light is at its peak, you won’t waste time reframing your image and possibly missing the moment. Today there are apps that allow you to see the position of the sun, moon or milky way, anywhere on the planet and on any date and hour. My favourite is “PhotoPills”, but “The Photographer’s Ephemeris” also works well.
Composition
Composition is another very important factor in any type of photography, including landscape photography. Without a good composition the photographs will be uninteresting and will not stand out. Composition is always a bit subjective and there are no rules to follow, however, there are some tips and suggestions that can help you compose and frame your images better:
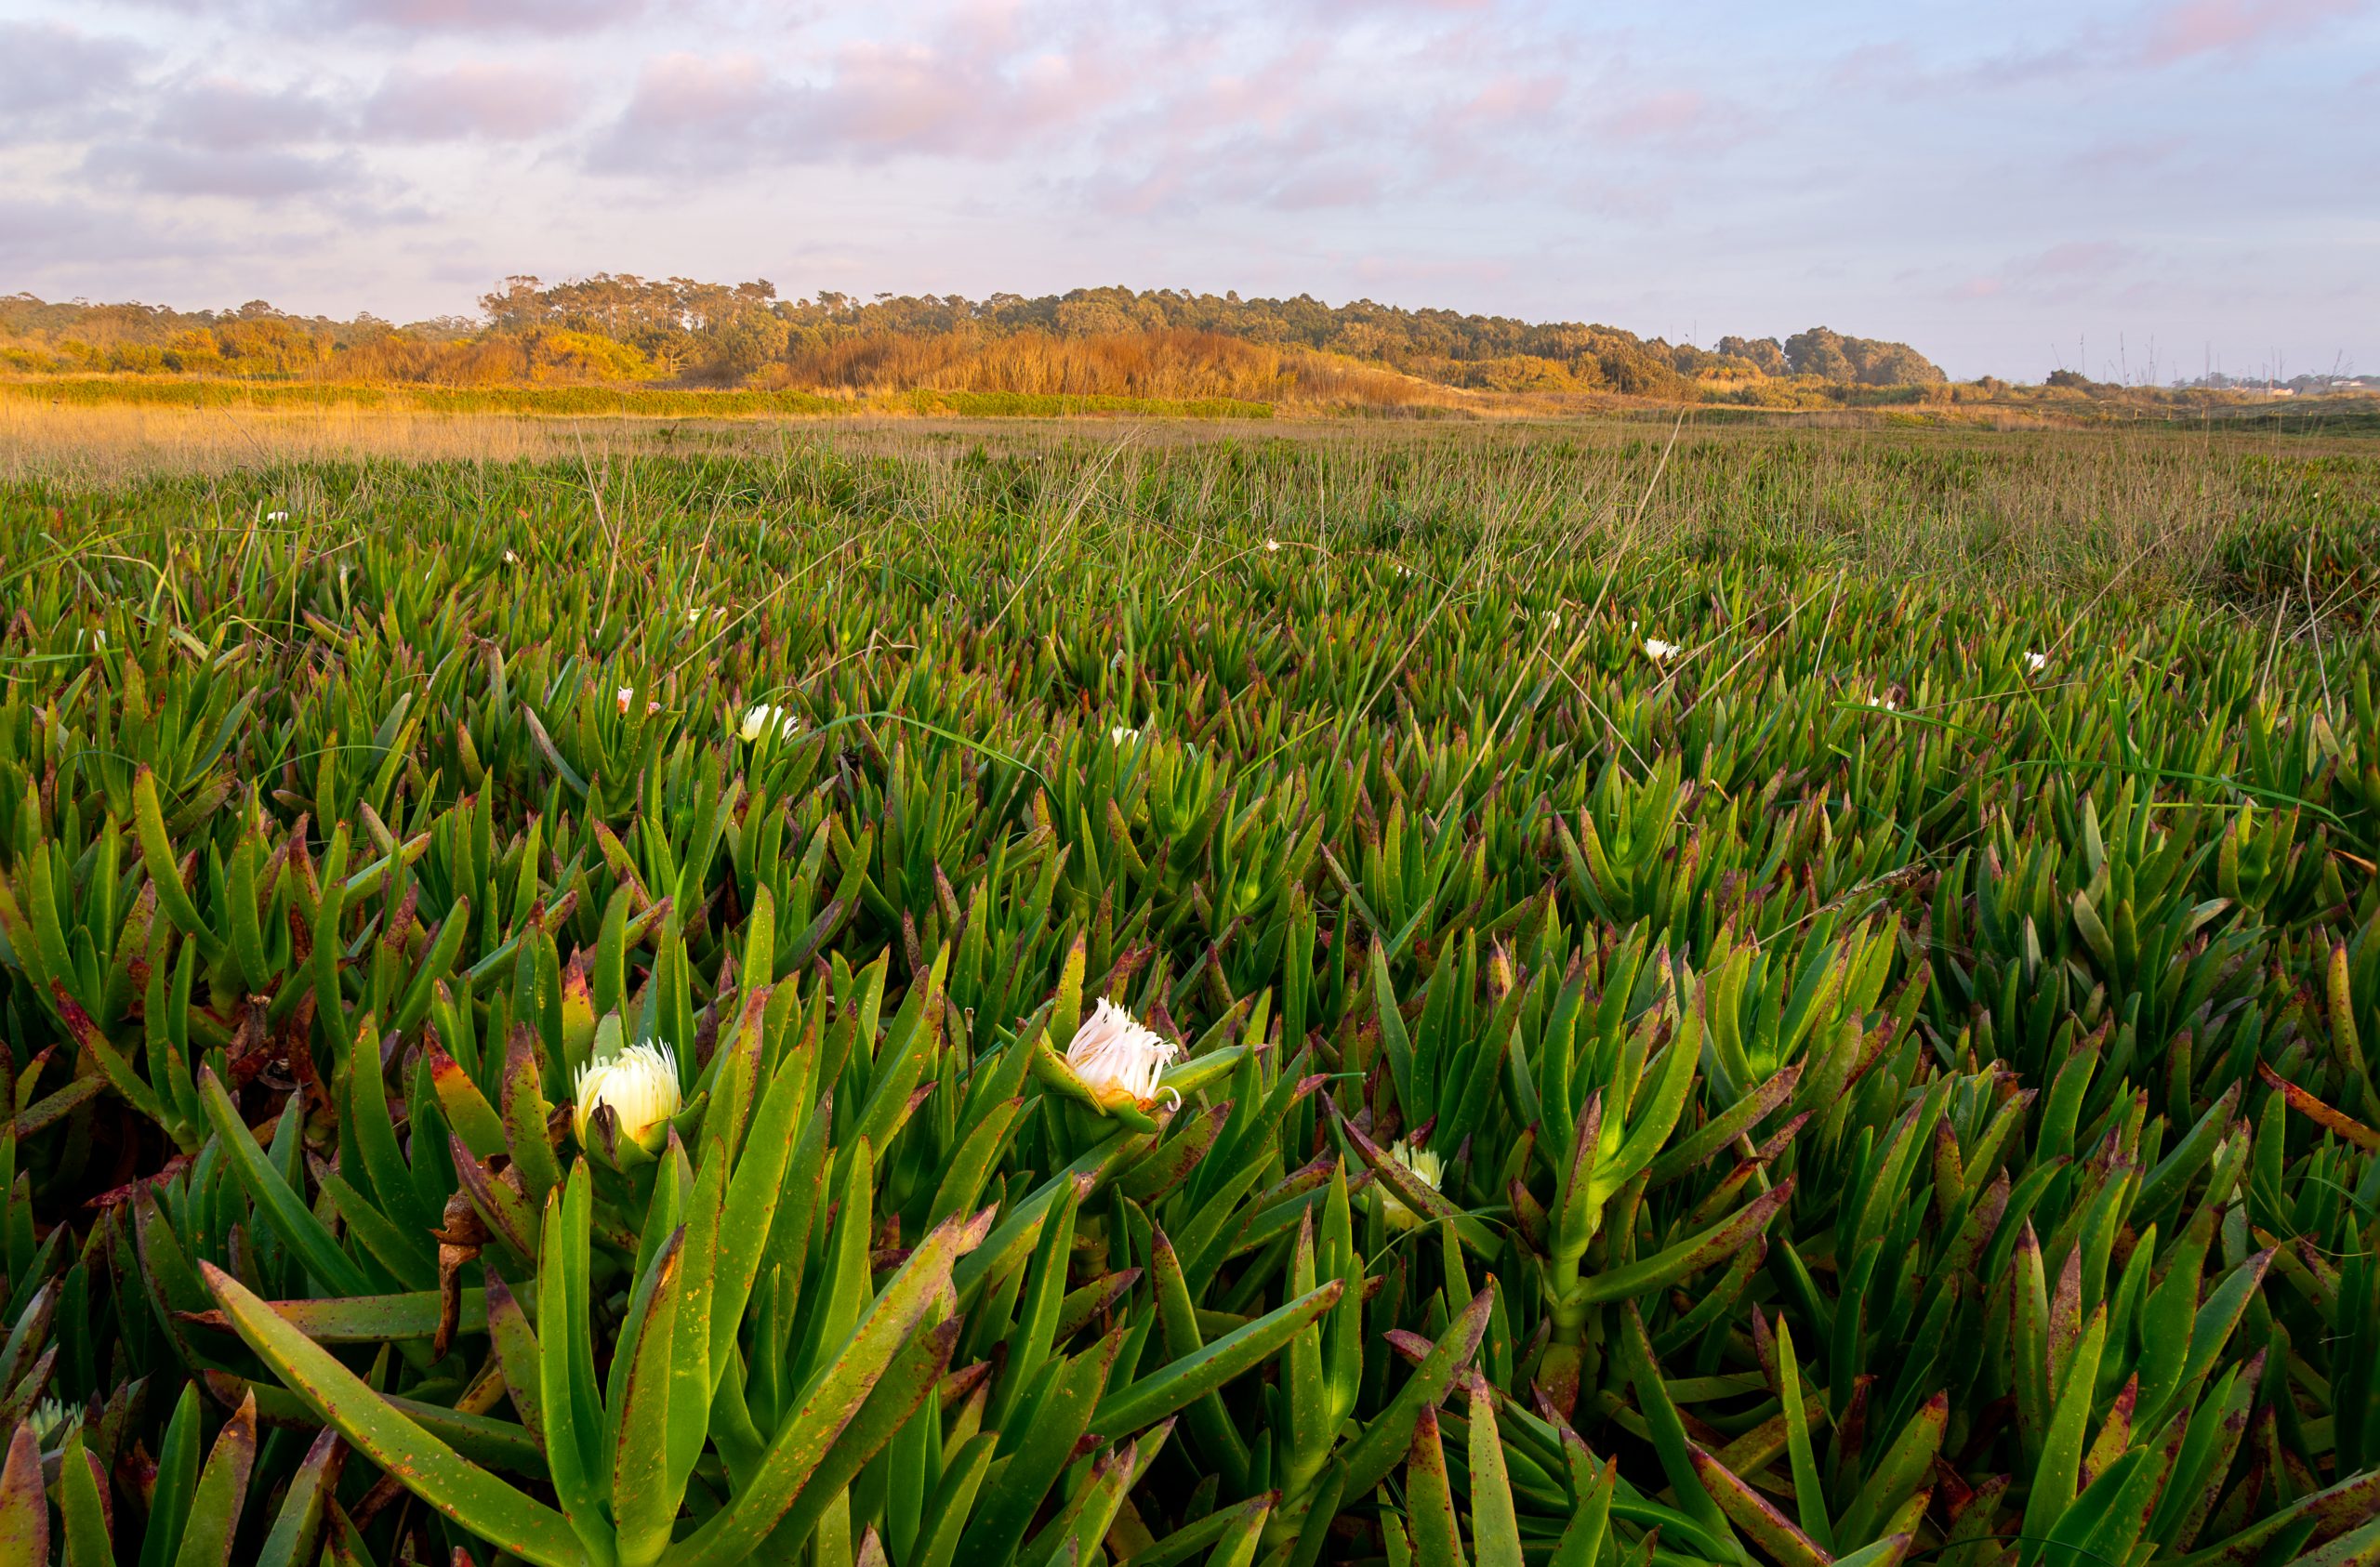
– Tell a story: if your images convey a powerful message, you will be able to provoke emotions more easily to the viewer. These messages can be very simple, for example, an image that transmits the calm of the mountains during the sunrise, or one that transmits the violence of a storm on the coast, or even one that transmits the power of propagation of an invasive plant, as the hottentot-fig, and the problems it brings to the dune ecosystems.
– Identify the subject: most landscape images should have a main subject. Of course, you can also include other secondary elements, but identifying the main subject will help you to compose better. This subject can be anything that adds aesthetic and/or emotional value to the photo, like a rock, a mountain, a tree, etc.
– Attention to the horizon: it’s very important to level the horizon. It may seem like a hint of little importance, but an image with uneven horizon will not work, even though the composition and light are phenomenal. You can correct it in post-production, but you will lose part of the image, which is not ideal. Many digital cameras already have a digital level, which helps in this process.
– Use lines and shapes: the natural lines of a landscape help guiding the viewer’s eyes along the image to the main subject, especially curves and “S” shapes, since they are more pleasant.
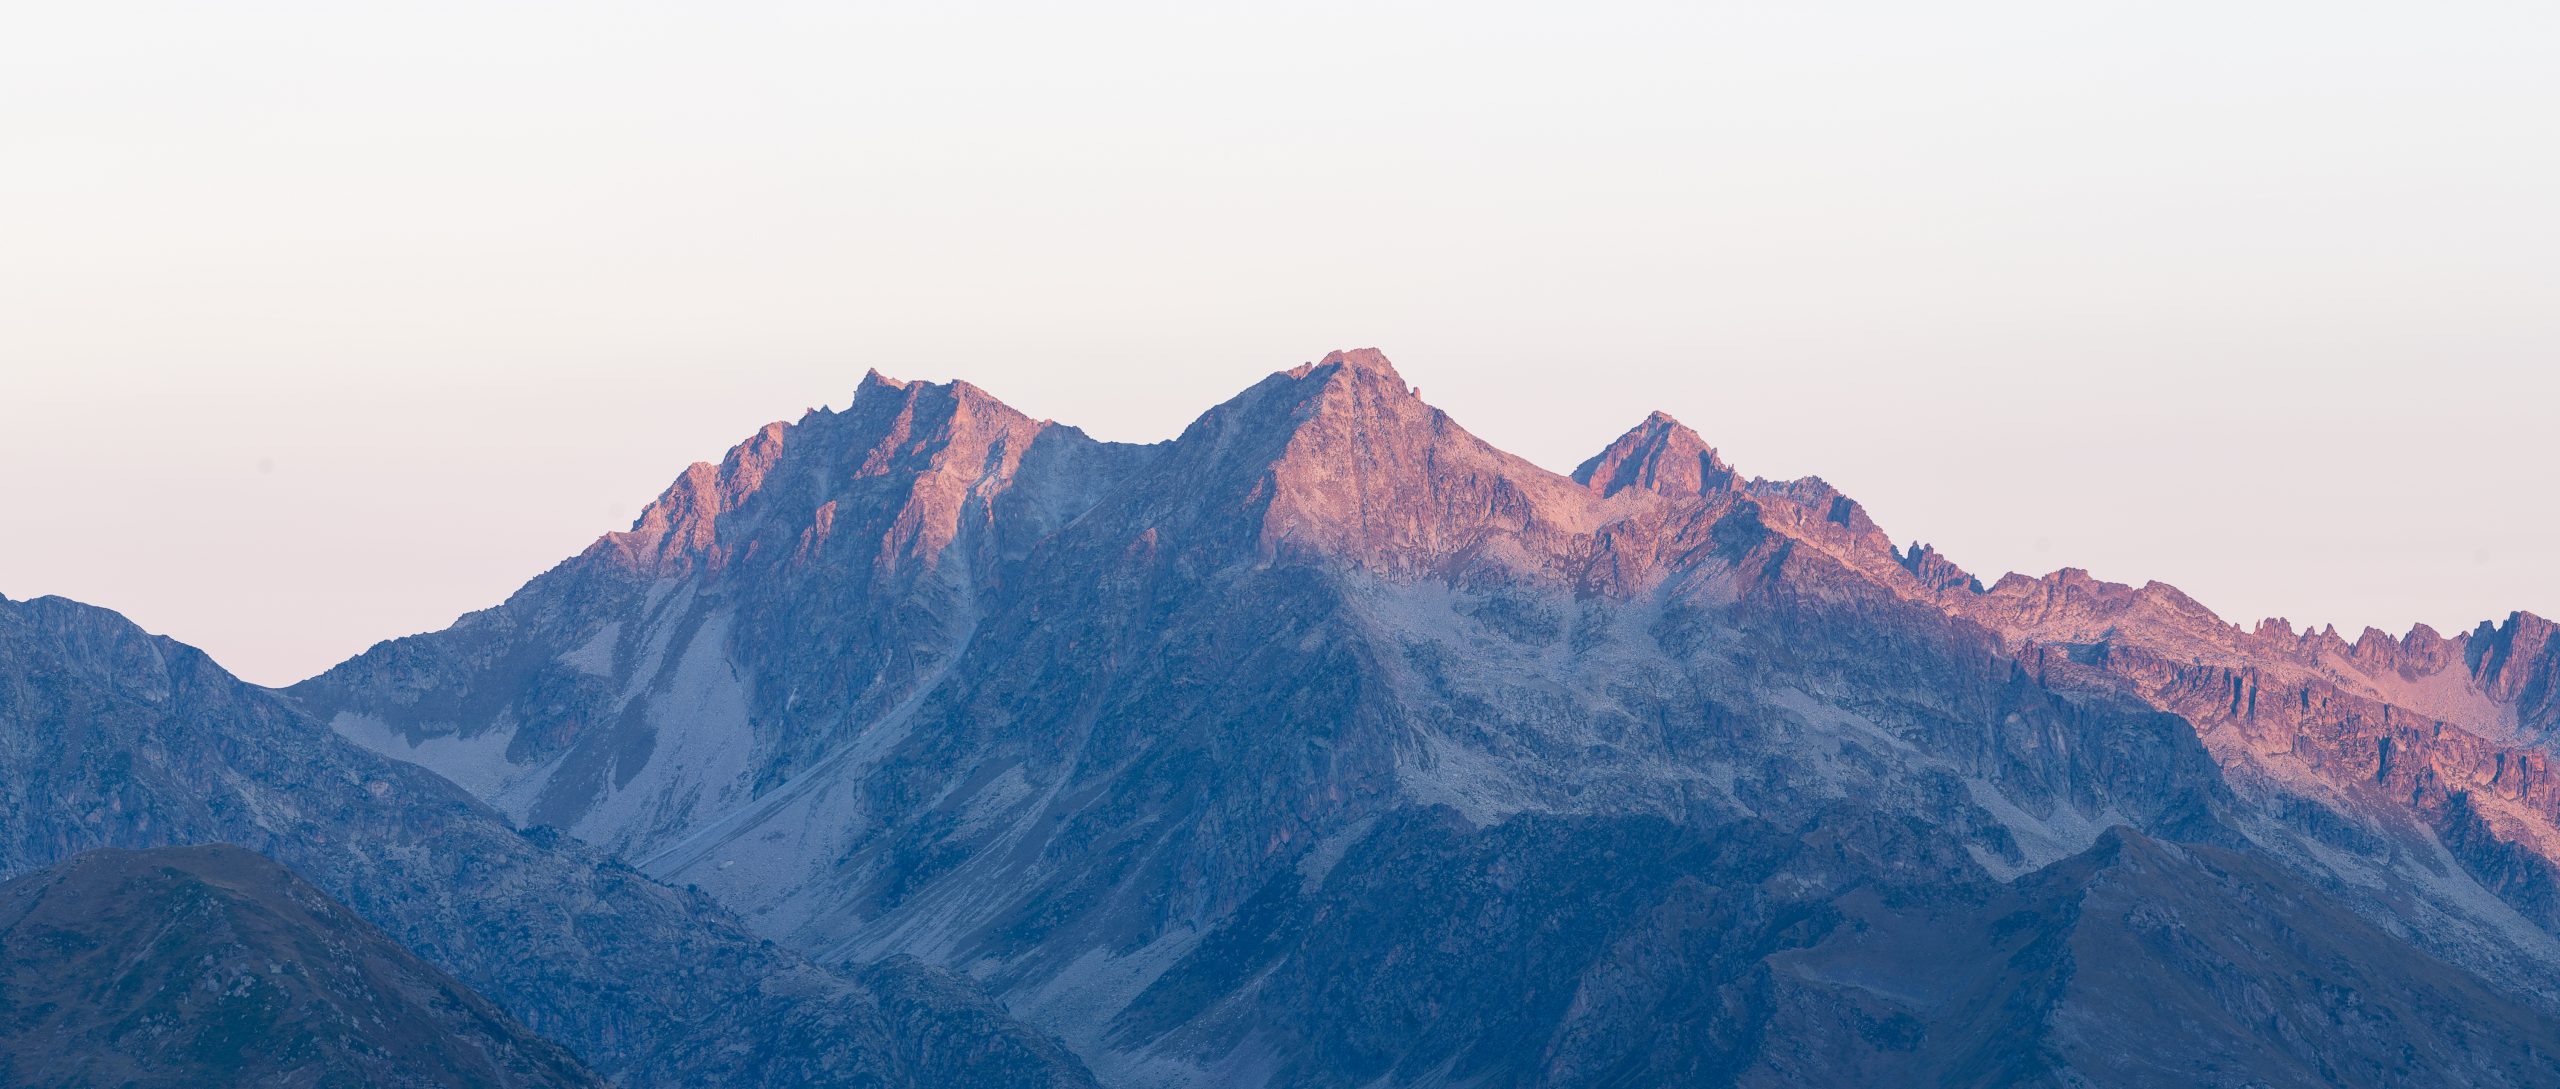
– Simplify: avoid adding distracting elements to your images. Sometimes simplicity is the way to go. For example, in the photo below I couldn’t find a nice foreground, it was too confusing. For that reason, I chose to include only the mountain and take advantage of the symmetry of the landscape to simplify the composition. Using a telephoto lens also helps in this process, because it allows you to isolate the main subject more easily.
– Take it easy and breathe: don’t rush to choose a composition. Frame it carefully to avoid mistakes (uneven horizon, cutting important elements, incorrect exposure, etc.), take your time to think and simply avoid pointing and shooting.
– Scout the area beforehand: visiting the location and choosing a composition in advance keeps you from running around, trying to frame your shot when the light is at its best. Even if you have scouted the area, I recommend you arriving about an hour in advance, so if you spot a more promising composition you still have time to test it.
Technique
There are some techniques that can be very useful to improve the quality of your work. Here are the ones I consider the most important: – Panoramas: let’s say you want to include only a mountain in the distance in your composition and for that you will have to use a telephoto lens. However, due to the narrow field of vision of these lenses, it won’t be possible to include everything in one image. In these situations, you can opt for a panorama, which is based on taking several vertical photos and then putting them together in post-production.
– Bracketing: sometimes the dynamic range of a scene is really high and you can’t get the highlights and shadows well exposed (for example, overexposed sky and well exposed mountains). For these situations you have two options: using a graduated neutral density filter or take several photographs with different exposures and combine them later in post-production. If the technique is well executed, you will get a final image well exposed at all levels.
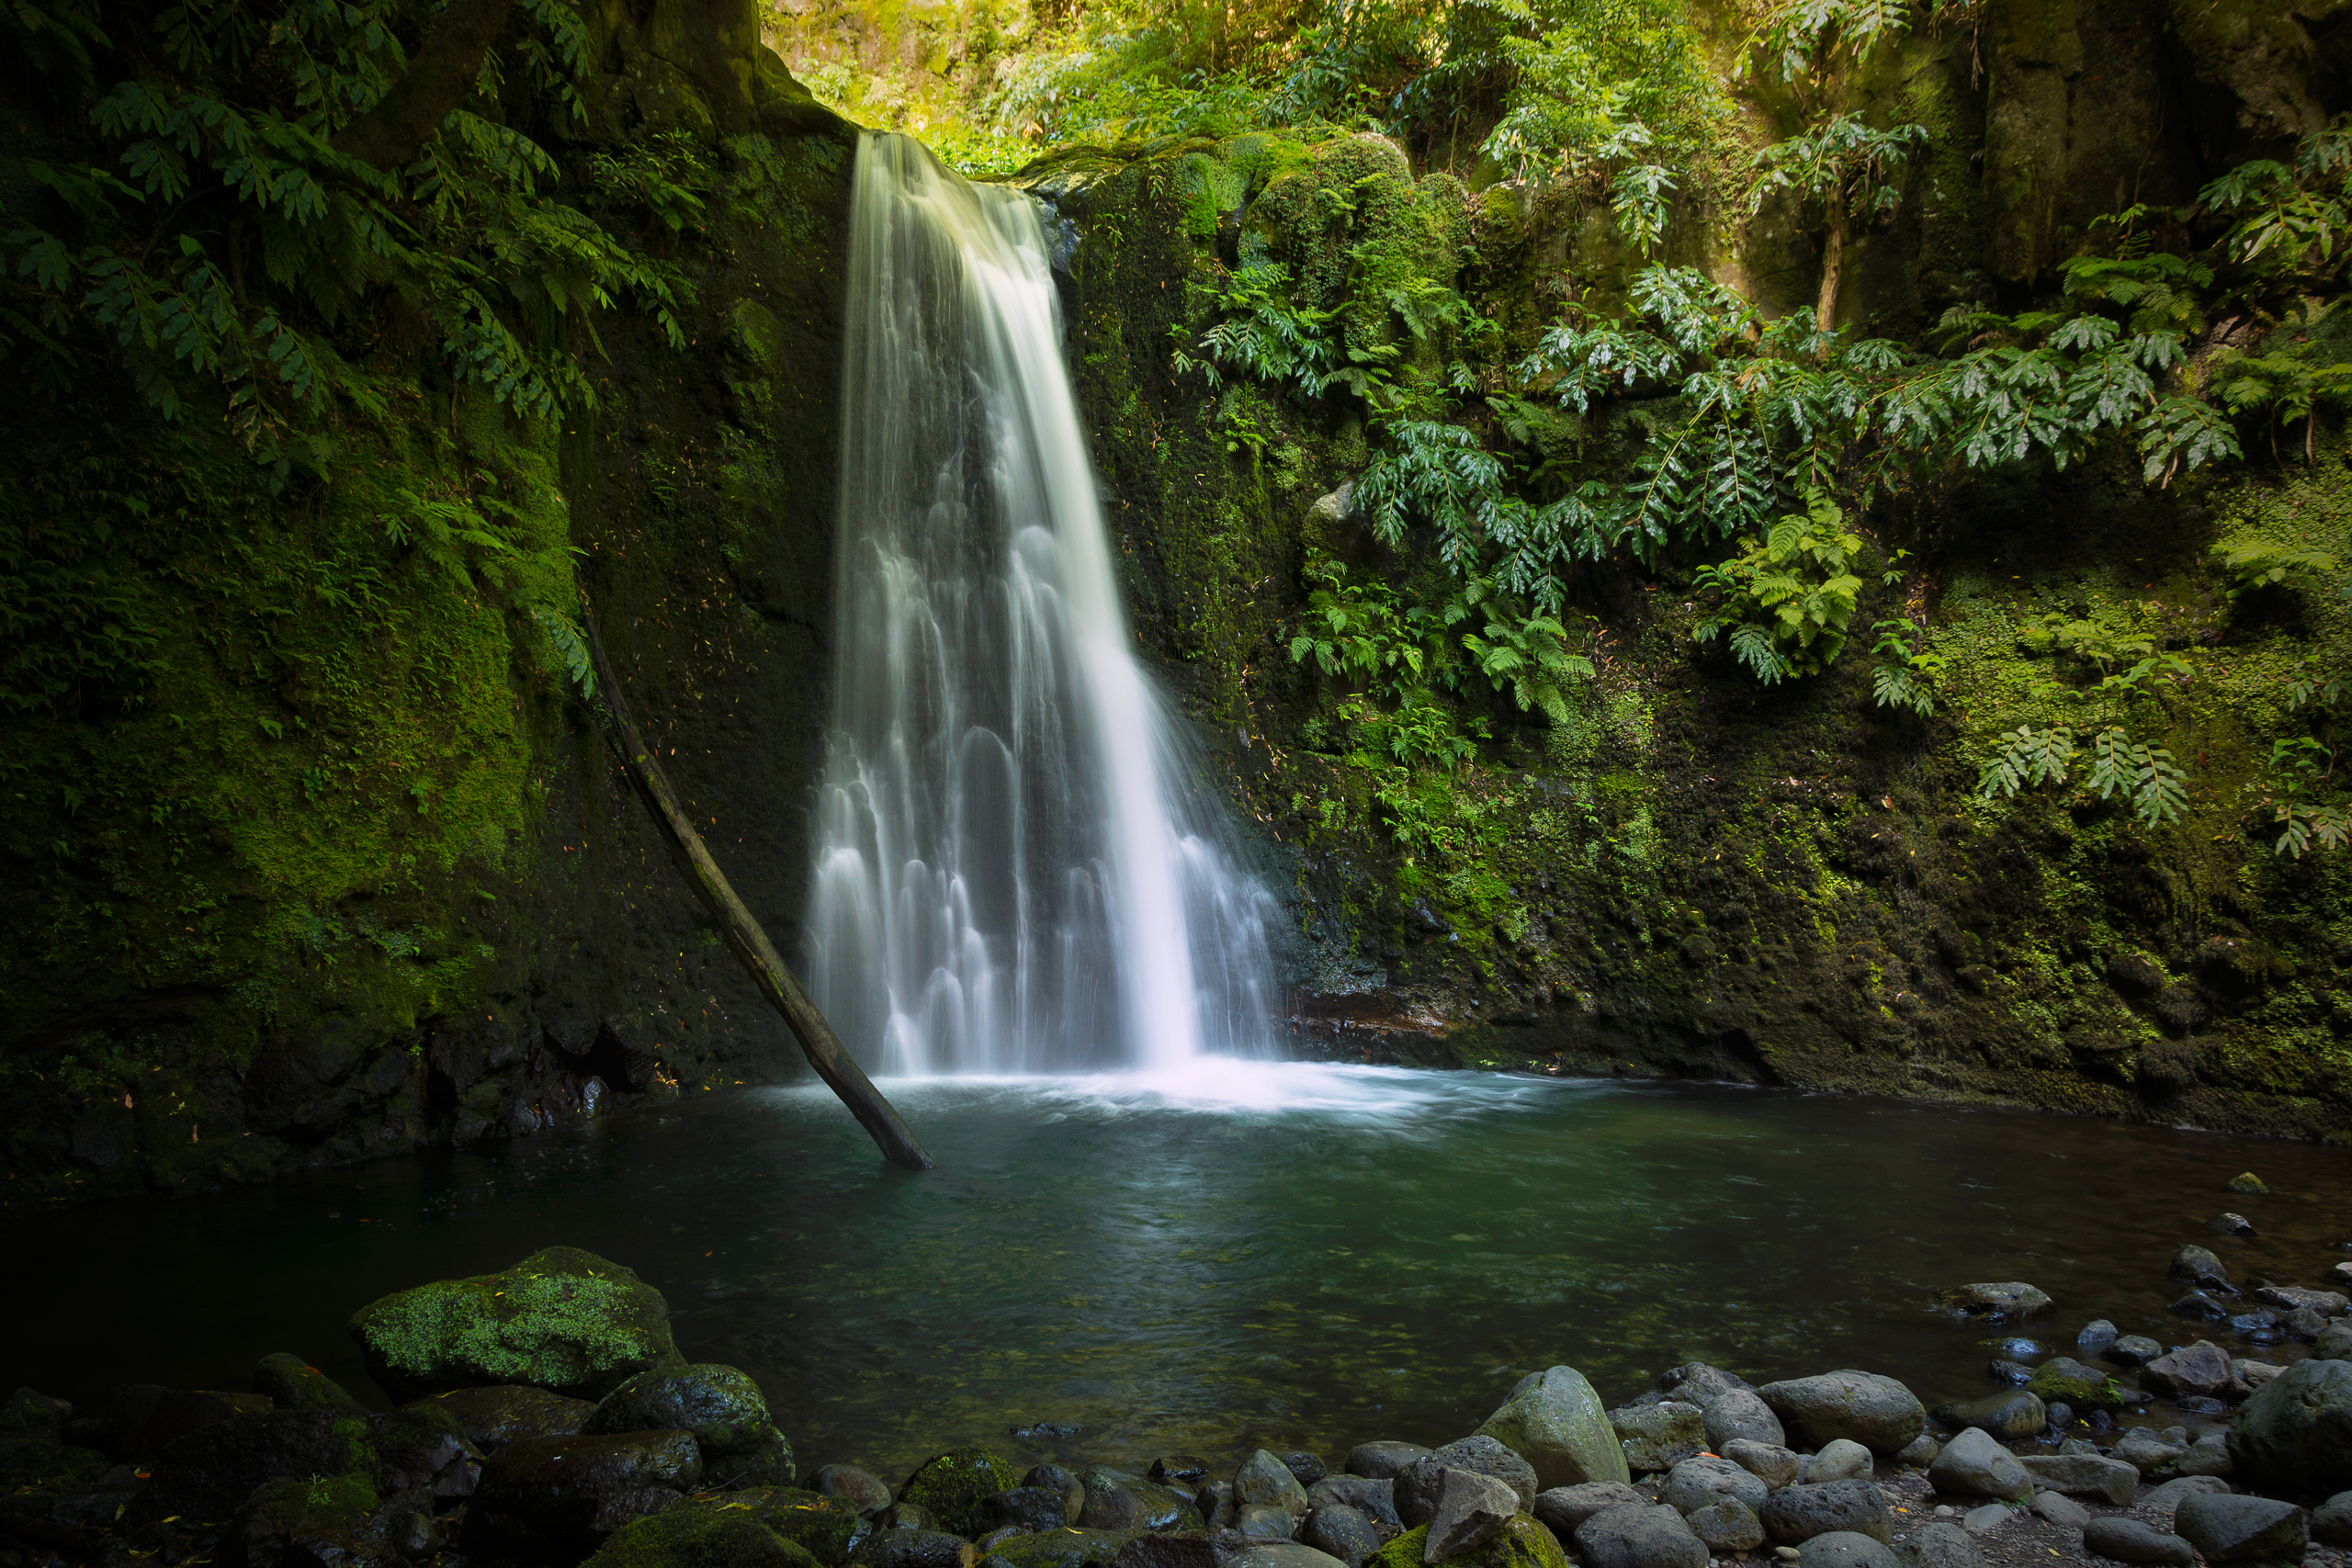
– Long exposures: a long exposure is achieved using a low shutter speed to capture the movement of slow-moving objects. In landscape photography this technique is often used to soften water and clouds. Long exposures require low light levels, so it may be necessary a neutral density filter.

– Aperture and Focus stacking: when photographing landscapes, we try to get all the elements of the landscape in focus. I use apertures between f/8 and f/16, but even then sometimes there isn’t enough depth of field. In these situations, I opt for a technique called focus stacking, which consists of combining several images taken at different focal points. The result is an image in focus from the foreground to the background.
Keep in mind, even if you don’t have much of the photo equipment I refer in this article, don’t hesitate to experiment, learn and have fun shooting landscapes, because that’s the most important.
Thank you for reading this article. If you have any questions or suggestions feel free to contact me.
